Finding Free Transparent PNG Graphics for Your Travel Blog
Finding Free Transparent PNG Graphics for Your Travel Blog
Running a travel blog or Instagram account takes more effort than most people expect. You’re writing captions, editing photos, planning itineraries, and somehow also designing graphics that look like they came from a professional studio. Stock photo subscriptions help, but they add up fast, and most of them don’t cover the small decorative elements that really make a layout pop. That’s where transparent PNG files come in, and once you understand how they work, you’ll wonder how you ever managed without them.
Transparent PNG files are the most flexible graphic format for travel content creators.
– PNG’s alpha channel lets you layer icons, borders, and decorations directly over any photo without a white or colored background getting in the way.
– Free PNG libraries offer thousands of travel-relevant graphics including map pins, compasses, weather icons, and nature elements, all at no cost.
– The most-downloaded collections in free libraries tend to skew toward outdoor and travel themes, making them instantly useful for bloggers and social media creators alike.
Why PNG Files Are the Go-To Format for Travel Creators
Not all image formats are created equal. JPEG is great for photographs because it compresses well and keeps file sizes manageable. But JPEG has one big limitation: it doesn’t support transparency. Every JPEG file has a solid background, which means you can’t cleanly layer it over another image.
PNG files are different. The format supports an alpha channel, which controls the transparency level of every single pixel in the image. A pixel can be fully opaque, fully transparent, or anywhere in between. That flexibility is what makes PNG the preferred format for graphics you want to overlay on top of something else.
According to the PNG format’s technical history, the format was developed specifically to improve on older formats that lacked this kind of transparency support, and it was built with web use in mind from the start. That means file sizes stay reasonable while image quality stays sharp, which is exactly what bloggers and social media creators need.
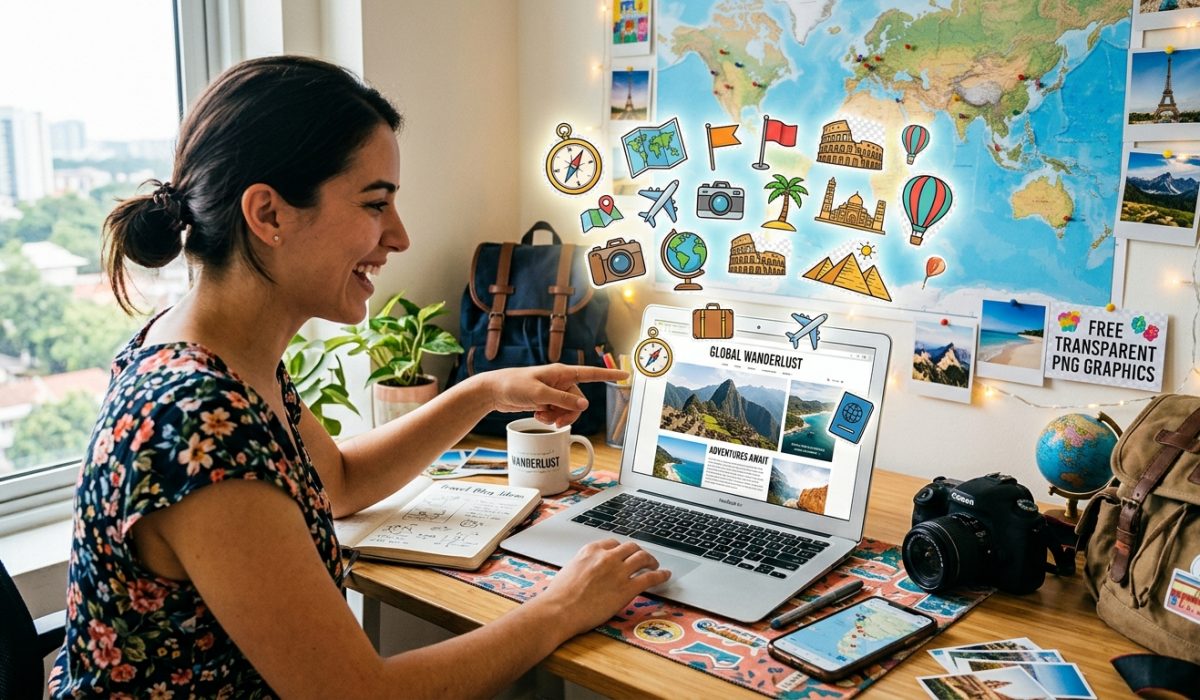
For travel content specifically, this matters because the most useful graphic elements, map pins, camera icons, weather symbols, decorative borders, luggage illustrations, all need to sit on top of your photography. If you drop a JPEG pin icon onto a beach photo, you get a white rectangle around the pin. Drop a transparent PNG instead, and the pin floats cleanly over the sand and water like it was always there.
What You Can Actually Do With Transparent PNGs
The practical uses are broader than most newer bloggers realize. Here are a few that show up constantly across travel content:
- Map pins and location markers sit over aerial or street-level shots to highlight a specific area of a city or a hiking trail head
- Weather icons like sun rays, snowflakes, or raindrops can label a best-time-to-visit section without needing to build a full graphic from scratch
- Decorative borders and frames wrap around a single photo to give it a more editorial feel, especially useful for Pinterest graphics where polish drives saves
- Compass roses and directional graphics add a navigation aesthetic to destination guides and itinerary posts
- Vehicle illustrations, planes, trains, campervans, scooters, work well in header graphics and carousel posts
- Nature elements like leaves, waves, mountain silhouettes, and palm fronds add destination texture to otherwise plain text graphics
The point is not to clutter your images. One or two well-placed elements transform a plain photo into a polished graphic that looks intentional. Readers notice the difference even when they can’t explain exactly what changed.
How Transparency Actually Works in Practice
If you’re new to working with PNG files, the process is straightforward once you understand the basics.
When you open a transparent PNG in a design tool like Canva, Adobe Express, or the free browser-based app Photopea, the transparent areas appear as a gray checkerboard pattern. That checkerboard isn’t part of the image. It’s just a visual indicator telling you those pixels are empty, and whatever sits underneath will show through.
You drag the PNG onto your canvas, position it over your photo, resize as needed, and the result looks seamlessly layered. No erasing, no complicated masking, no tedious selections. The transparency is already built into the file.
This is why travel bloggers who rely on free tools lean so heavily on PNGs. The heavy lifting, removing backgrounds and isolating the graphic, is already done. You just place and adjust.
Finding the Right Graphics Without Paying for a Subscription
Free PNG libraries have improved dramatically over the past few years. The challenge used to be quality. Early free options were low resolution, inconsistently styled, or simply not relevant to travel content. That has changed significantly.
The best free libraries now organize their collections by popularity, category, and download count, which gives you a useful shortcut. Instead of sorting through thousands of random uploads, you can start with what other creators have already vetted as useful and attractive.
Checking out the trending PNGs on a well-stocked free library is a practical first move because the popularity data does the filtering for you. The most-downloaded graphics in travel-adjacent categories, nature elements, outdoor activity icons, vehicles, architectural details, tend to be both high quality and versatile. You’re not guessing whether something will work in a real layout. You’re pulling from collections that other designers and bloggers have already tested.
Matching Graphics to Your Blog’s Visual Style
One mistake that shows up in newer travel blogs is mixing graphic styles. You’ll see a flat minimalist icon next to a detailed illustrated compass, next to a 3D render of a suitcase, and the result feels chaotic rather than curated.
A consistent visual style makes your blog feel more professional and builds brand recognition over time. When readers see your Instagram grid, they should be able to tell it’s yours from the color palette and graphic style alone, without needing to read your name.
Before downloading anything, decide on a style direction. Flat design with simple shapes and bold colors reads as modern and clean. Illustrated or hand-drawn styles feel warmer and more personal. Realistic 3D renders look detailed but can clash with travel photography if used too often.
Once you’ve picked a direction, stick to it. Pull graphics from that category and resist the urge to grab whatever looks interesting in the moment. Style consistency is one of the easiest wins available to independent creators, and it costs nothing beyond a little discipline.
Using PNG Overlays for Instagram and Pinterest Specifically
Social media platforms each have their own requirements, and PNG files adapt well across all of them.
For Instagram Stories, transparent PNG elements are particularly useful because Stories are ephemeral and fast-moving. A palm tree icon or a location pin added to a photo takes seconds to place and immediately signals travel content to anyone scrolling. You don’t need to spend forty minutes in a desktop editor to get a polished result.
For Pinterest, the format rewards tall vertical images with text overlays. A transparent decorative border framing a portrait-oriented photo, with bold text added in your design tool, performs consistently well in search and feeds. The PNG border gives the image a finished, editorial quality without requiring any particular design background.
Research on travel photography composition consistently points to visual hierarchy as a key factor in audience engagement. Graphic overlays help you control that hierarchy by drawing the eye to specific areas of your image, which is why so many high-performing travel accounts incorporate them regularly.
The Polished Look That Won’t Cost You a Subscription
Travel blogging is a long game. You’re building an audience over months and years, and every piece of content you publish adds to the brand impression readers carry with them. Visuals matter more than most writers want to admit, and the gap between a polished graphic and a raw photo is often just one or two well-chosen transparent PNG elements.
The good news is that polished graphic design no longer requires a professional designer or an expensive software subscription. Transparent PNG files give independent creators access to the same kind of layered, editorial visual style that travel magazines have used for decades. The format is free to use, widely supported by every major design tool, and the best libraries make it straightforward to find graphics that are genuinely relevant to travel content.
Start with a clear style direction, grab a handful of graphics that fit that direction, and drop one into your next Instagram Story or Pinterest pin. The difference in how the content reads is immediate, and your readers will feel it even if they never consciously notice what changed.