(opening)
The Sony a7C, a7III, and other a7 series models are highly acclaimed mirrorless cameras popular among photography enthusiasts and professionals. These powerful cameras offer a range of features that can elevate your photography experience. Whether you're a beginner or seasoned photographer, mastering these tips will help you unlock their full potential.
Here, we share 15 valuable tips and tricks tailored for your new Sony a7C, a7III, and other a7 series cameras. From understanding camera settings to utilizing advanced shooting techniques, we'll cover what you need to maximize creativity and achieve phenomenal results. Let's dive into these essential tips.
TIP 1: Master the Focus Modes
One of the key features of Sony cameras is the wide range of focus modes available. Experiment with different focus modes to find what works best for your shooting style. With the a7C and a7III, you have access to advanced autofocus technologies, such as Eye AF and Real-time Tracking, that can greatly improve the accuracy and speed of focusing. For moving subjects, leverage Tracking autofocus or Touch Tracking to keep your subject locked in focus, ensuring sharp results even in dynamic scenes.
TIP 2: Utilize the Custom Buttons
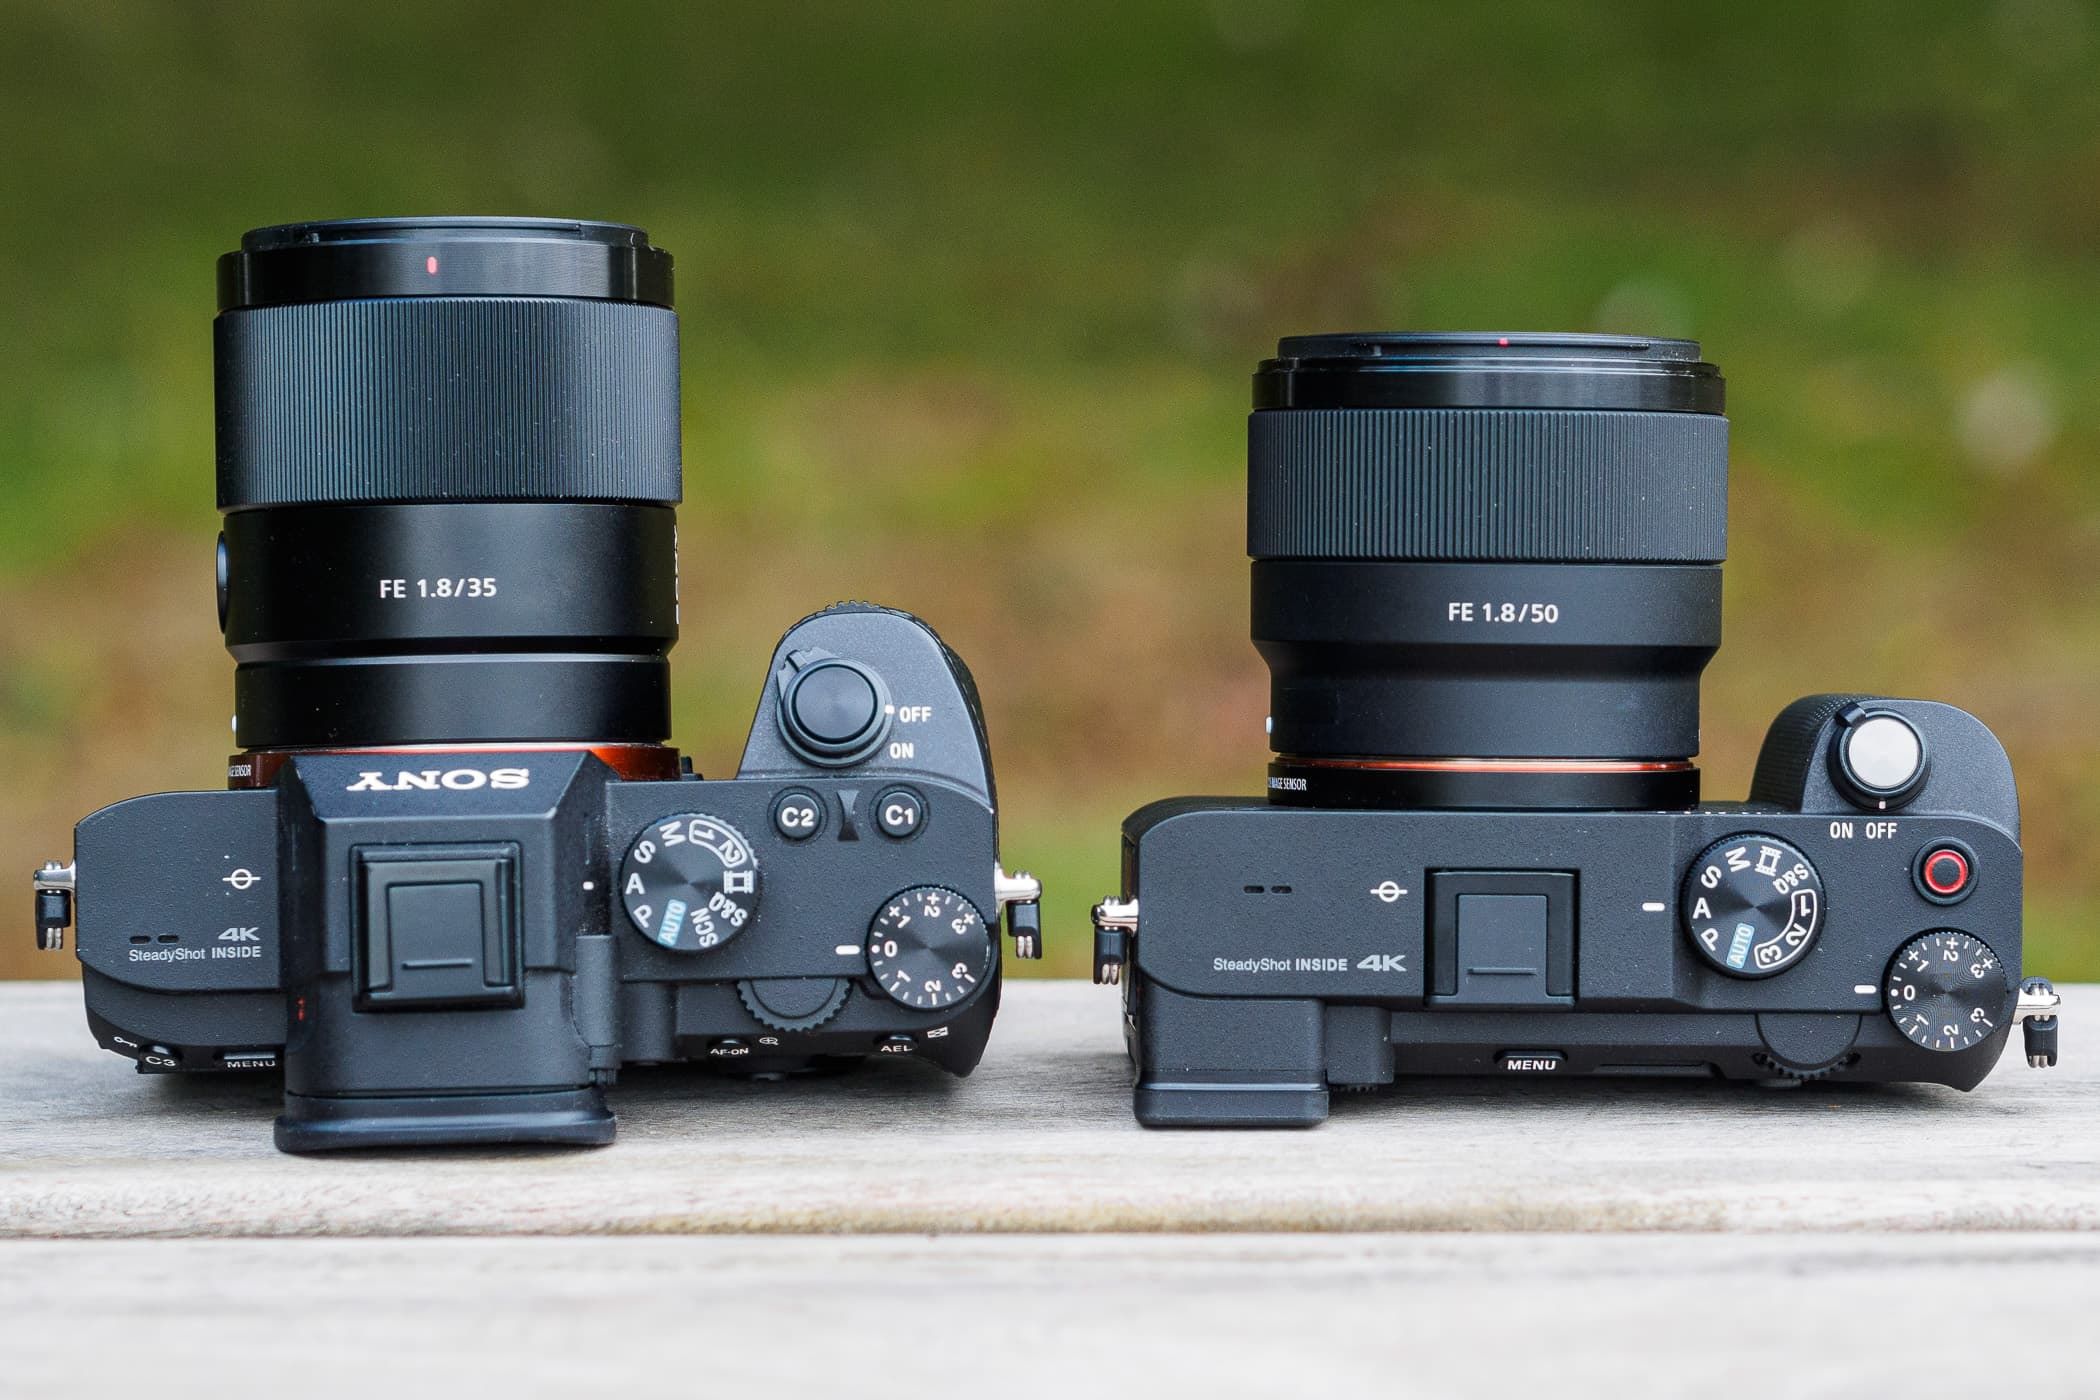
The Sony a7C, a7III, and other models offer customizable buttons that allow you to assign specific functions for quick access. Take advantage of this feature by assigning commonly used settings or functions to the buttons, making it easier and faster to adjust your camera settings on the go.
TIP 3: Take Advantage of the Electronic Viewfinder (EVF)
The electronic viewfinder on the a7C and a7III provides a high-resolution, real-time preview of your shot. Use the EVF to accurately compose your images and make adjustments to exposure, white balance, and other settings. The EVF also allows you to see the effects of different creative modes or filters before taking the shot, giving you more control over the final result. This live preview is especially useful when shooting in bright conditions where the rear screen may be hard to see, and it helps you confirm focus and depth of field without chimping. Whether you’re framing a fast-moving subject or fine-tuning a landscape, the EVF’s clarity and responsiveness make it an indispensable tool for getting the shot right in-camera.
TIP 4: Explore the Picture Profiles
The Sony cameras come with different picture profiles, such as Standard, Vivid, and Landscape, that allow you to apply specific color and tone settings to your photos and videos. Experiment with these profiles to achieve different looks and moods in your images. Additionally, you can create and save your own custom picture profiles for personalized results. For video work, consider how each profile handles highlights and shadows to match your intended grade. While you’re adjusting settings, remember that mobile roaming settings in tech gear won’t affect your camera’s color science, so focus on the profiles themselves. Test each profile under the same lighting to see which best suits your subject, and don’t hesitate to tweak contrast or saturation within a profile for a unique signature.
TIP 5: Shoot in RAW Format
RAW format captures all the data from the camera's sensor, giving you greater flexibility and control during post-processing. With the a7C and a7III, you have the option to shoot in RAW format, allowing you to make adjustments to exposure, white balance, and other image parameters without sacrificing image quality.
TIP 6: Use the Built-in Wi-Fi and Imaging Edge App
Connect your Sony camera to your smartphone or tablet using the built-in Wi-Fi and download the Imaging Edge app. This app allows you to remotely control your camera, transfer images wirelessly, and even geotag your photos. It is a convenient tool that enhances your shooting experience and simplifies the process of sharing your images on social media.
TIP 7: Explore the Interval Shooting Mode
The interval shooting mode enables you to capture stunning time-lapse sequences effortlessly. Set the desired interval and duration, and let the camera automatically capture a series of images that can be combined into a time-lapse video during post-processing. This feature is perfect for capturing the beauty of sunsets, star trails, or busy city streets. Note that for a proper time-lapse workflow, you should avoid using S&Q mode—stick with the interval timer to maintain full control over exposure and frame rate. For moving subjects, rely on the camera’s real-time tracking and Touch Tracking to keep focus locked, ensuring sharp results throughout the sequence. This approach works well whether you’re shooting a passing storm or a crowded market scene.
TIP 8: Experiment with Multiple Exposure
The Sony a7C and a7III offer a Multiple Exposure mode that allows you to combine multiple images into one single exposure. Get creative by capturing multiple shots and blending them together to create unique and artistic images.
TIP 9: Utilize the Silent Shooting Mode
When shooting in sensitive environments or during quiet events, such as weddings or performances, switch to the silent shooting mode. This feature eliminates the sound of the shutter, allowing you to capture moments discreetly without causing any distractions.
TIP 10: Take Advantage of the In-body Image Stabilization (IBIS)
The in-body image stabilization feature in the a7C and a7III compensates for camera shake, enabling you to capture sharper photos even in low-light conditions or when using telephoto lenses. This technology works with both native and adapted lenses, providing you with more flexibility in your choice of equipment.
TIP 11: Fine-tune the Auto ISO Settings
Auto ISO is a useful feature that automatically adjusts the camera's sensitivity to light based on the shooting conditions. However, it may not always provide the desired results. Take control of this feature by fine-tuning the Auto ISO settings to suit your preferences. You can set the Auto Min SS (minimum shutter speed) to reduce motion blur in your shots, ensuring crisp images even in lower light. This adjustment helps you avoid unnecessary noise while maintaining optimum exposure. Experiment with these settings to match your shooting style and the demands of your subject, whether you're capturing fast action or static scenes. Fine-tuning Auto ISO gives you the flexibility to trust the camera’s metering while keeping creative control over shutter speed and noise levels.
TIP 12: Customize the Function Menu
The function menu is a quick-access menu that allows you to assign frequently used functions for easy access. Customize this menu by adding the settings or functions that you use most frequently, making it faster and more efficient to adjust your camera settings while shooting.
TIP 13: Experiment with Creative Picture Effects
The Sony cameras come with a range of creative picture effects, such as Toy Camera, Pop Color, and High Contrast Mono, that can add a unique touch to your photos. Explore these effects and combine them with different shooting techniques to create visually compelling images.
TIP 14: Invest in Quality Lenses
While the Sony a7C, a7III, and other cameras in the lineup produce exceptional image quality, investing in high-quality lenses can take your photography to the next level. Consider lenses with a wide aperture for beautiful bokeh and better low-light performance, as well as specialized lenses for specific genres, such as landscape or portrait photography.
TIP 15: Practice and Experiment
Above all, the best way to master your new Sony camera is through practice and experimentation. Take your camera out in different environments, try various shooting techniques, and don't be afraid to push the boundaries of your creativity. The more you practice and explore the capabilities of your camera, the better you will become at capturing stunning images with the Sony a7C, a7III, or any other model in the range.
Conclusion
In conclusion, these 15 tips and tricks will help you make the most out of your new Sony a7C, a7III, and other models. From mastering the different shooting modes to using advanced features like Eye AF and 4K video recording, these tips will enhance your photography experience.
Remember to experiment, try out different settings, and practice regularly to become comfortable and proficient with your camera. So, go ahead and explore all the innovative features, customize your settings, and push the boundaries of your creativity to capture moments that will be cherished for a lifetime.
FAQs
1. How do I enable Eye AF on my Sony a7C?
To enable Eye AF on your Sony a7C, go to the camera menu, navigate to the AF section, and select Eye AF. Set it to either Continuous AF or Single AF depending on your shooting needs. This feature will help you achieve sharp focus on your subject's eyes, even when they are in motion.
2. Can I shoot in RAW format with my Sony a7III?
Yes, the Sony a7III allows you to shoot in RAW format. To do this, go to the camera menu, navigate to the Image Quality section, and select RAW. Shooting in RAW enables you to have more flexibility during the post-processing stage, as it preserves more image data compared to shooting in JPEG format.
3. How can I extend the battery life of my Sony camera?
To extend the battery life of your Sony camera, you can follow these tips:
- Use the camera's power save mode when not in use.
- Carry spare batteries to ensure you always have a backup.
- Use the electronic viewfinder instead of the LCD screen.
- Turn off features like Wi-Fi and Bluetooth when not needed.
- Avoid extreme temperatures, as they can affect battery performance.
4. How do I update the firmware on my Sony camera?
To update the firmware on your Sony camera, follow these steps:
- Visit the official Sony website and search for firmware updates for your specific camera model.
- Download the latest firmware onto your computer.
- Connect your camera to your computer using a USB cable.
- Run the firmware update software and follow the on-screen instructions to install the new firmware onto your camera.
Note: Make sure to fully charge your camera's battery before performing a firmware update.
5. What are the recommended memory cards for Sony cameras?
Sony recommends using high-quality SD or CFexpress memory cards that meet the specifications of your specific camera model. Brands like SanDisk, Lexar, and Sony offer reliable options with fast write speeds and ample storage capacity. It's important to use a memory card with sufficient write speeds to ensure smooth performance, especially when shooting in burst mode or recording high-resolution video.
Related travel guides: How Does The New Tumi Charging Port Work and 13 Best Luggage Covers That Are Tsa Approved for 2024.