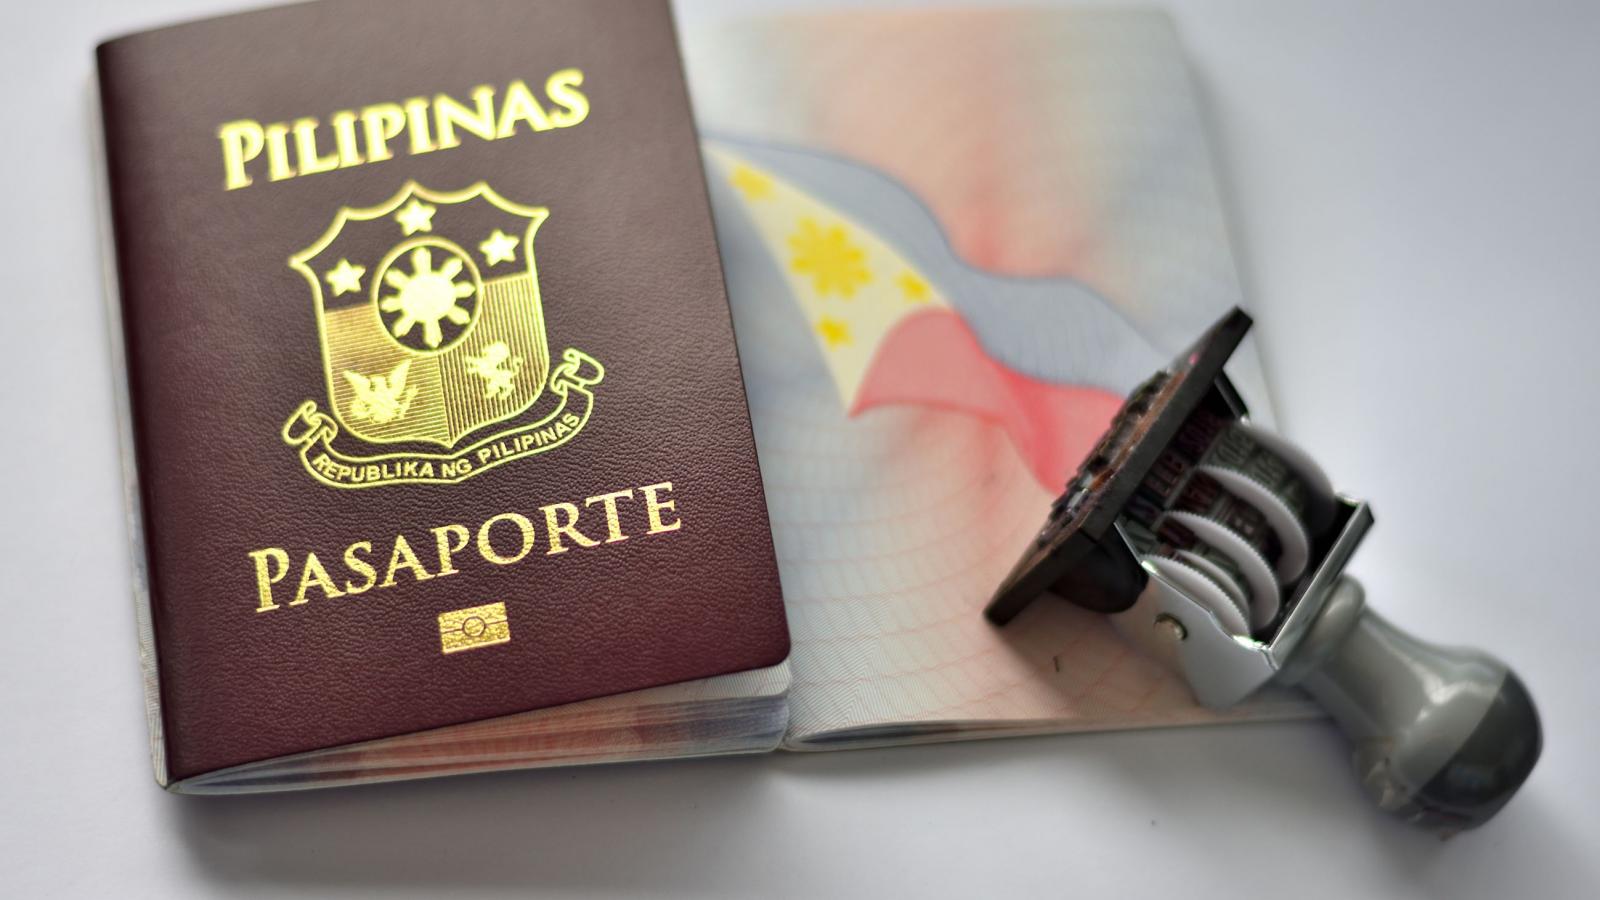
If your name is incorrect on your passport, you must apply for a correction or a new passport before you travel. The only exception is a minor typo that does not change the sound or spelling of your name, which some airlines and immigration officers may accept if you carry your supporting documents. To fix the error, you will need to contact the passport issuing authority, provide the required documentation—such as a marriage certificate or court order—and submit a new application. This process ensures your name matches your tickets, visa, and other travel documents, preventing delays, denied boarding, or entry issues abroad.
Why a Correct Name on Your Passport Matters
A correct name on your passport is not just a formality, but a crucial aspect that impacts your travel experiences. Here are a few reasons why having an accurate name on your passport matters:
1. Smooth Airport and Immigration Procedures: When you travel internationally, your passport is the primary document used for identification at airports and immigration checkpoints. Having a correct name on your passport ensures a smooth and hassle-free journey through security checks, boarding gates, and immigration procedures.
2. Avoidance of Travel Delays and Denials: Traveling with an incorrect name on your passport can lead to delays or even denial of entry into a country. Immigration authorities, airlines, and other travel service providers compare the information on your passport against your tickets and visa. Any discrepancies, including name errors, can raise suspicion and create complications.
3. Seamless Access to Services and Facilities: A correct passport name is essential for accessing various services and facilities during your travels. From accommodations and car rentals to banking services and visa applications, most service providers require your passport for verification purposes. An inaccurate name can lead to difficulties in obtaining these services.
4. Legal Compliance: Your passport serves as an official document for identification and legal purposes. Having an incorrect name on your passport can affect your legal standing, especially if you need to present it in official or legal matters while abroad.
5. Professional and Academic Pursuits: If you plan to work or study internationally, having a correct name on your passport is crucial. Employers, educational institutions, and government agencies often require accurate identification documents during the application process. An incorrect name can hinder your opportunities and cause unnecessary complications.
6. Peace of Mind: Knowing that your passport contains your correct name instills a sense of confidence and peace of mind while traveling. You can focus on enjoying your journey without worrying about potential issues arising from name discrepancies.
Overall, a correct name on your passport is essential for a seamless travel experience. It ensures compliance with legal requirements, avoids delays or denials, and allows you to access various services and opportunities while abroad. In the following sections of this article, we will guide you through the steps to correct an incorrect name on your passport, so you can confidently embark on your future travels.
Common Reasons for Incorrect Names on Passports
Several recurring issues lead to name errors on passports. Understanding these causes can help you avoid them during the application process. Here are the most common ones:
1. Human Error: The most frequent cause is a mistake made during the application process, whether by the applicant filling out the form or by a passport official entering the data. Carefully reviewing the entire application before submission is the best way to catch and correct these errors early.
2. Misspelling: A simple typo or oversight can easily result in a misspelled name. Always double-check the spelling of your name against your official identification documents—such as your birth certificate or driver’s license—before submitting your application.
3. Name Change: If you have legally changed your name due to marriage, divorce, or another reason, you must update your passport to reflect that change. Failing to do so creates discrepancies between your passport and other official documents, which can lead to confusion and travel complications.
4. Incomplete Information: Leaving fields blank or providing partial details on the application form can also cause name errors. Fill out every required field accurately, including your full legal name, middle name if applicable, and any other requested information.
5. Outdated Information: If you previously held a passport with an incorrect name spelling or other errors and never rectified it, those same mistakes may carry over to your new passport. Address any known name discrepancies when applying for a renewal or new passport.
6. Non-Standard Naming Conventions: For individuals whose names do not follow standard naming conventions in their country, passport officials may input the name based on their own understanding, leading to errors. Clearly communicate and clarify any unique naming structures—such as multiple last names or special characters—to the passport office to prevent mistakes.
While errors can happen during the passport application process, the applicant also bears responsibility for providing accurate and complete information. Taking the time to review and verify every detail on your application will significantly reduce the chances of an incorrect name entry.
In the next sections, we will cover how to check your passport for errors and the steps to correct an incorrect name if you find one.
Checking Your Passport for Errors
Before you travel, check your passport for any errors, especially in your name. Here are the key steps to ensure accuracy:
1. Review the Information Page: Examine the page with your personal details, including your name. Check the spelling and order of your name carefully, making sure it matches your official identification documents.
2. Verify Other Personal Details: Along with your name, check your date of birth, place of birth, and passport number. Ensure all information is accurate and current.
3. Check Passport Expiry Date: Look at the expiry date. Many countries require passports to have at least six months' validity remaining, so confirm your passport meets this requirement for your planned travels.
4. Look for Any Stamping or Endorsements: Carefully examine each page, including entry and exit stamps, visas, and other endorsements. Verify that the information is correct and matches your travel history.
5. Pay Attention to the Passport Photo: Check that your passport photo is clear, meets required guidelines, and accurately represents your current appearance.
6. Cross-Check Supporting Documentation: Compare the information on your passport with the identification documents you used during the application process, such as your birth certificate, driver's license, or marriage certificate. Ensure consistency between these documents and your passport.
If you discover any errors, take immediate steps to correct them. Incorrect information on your passport, especially your name, can lead to travel disruptions. In the following sections, we will guide you through correcting an incorrect name, including contacting the passport issuing authority and providing the required documentation.
Steps to Correct an Incorrect Name on Your Passport
If you have identified an incorrect name on your passport, take immediate steps to rectify the error. Follow these general steps to correct the name on your passport:
1. Contact the Passport Issuing Authority: Begin by contacting the passport issuing authority in your country—typically the government agency responsible for issuing passports. They will provide guidance on the specific process and requirements for correcting a name on your passport.
2. Gather the Required Documentation: The passport issuing authority will provide a list of required documentation to support your name correction request. This may include documents such as a birth certificate, marriage certificate, divorce decree, court order, or other official documents to verify the correct name.
3. Prepare an Application for Name Correction: Fill out the application form provided by the passport issuing authority specifically for name correction. Ensure all sections are completed accurately and provide the necessary details and supporting documents as required.
4. Paying Fees and Processing Time: There may be fees associated with correcting the name on your passport. The amount and payment process will vary depending on your country and the passport issuing authority. Be prepared to pay any applicable fees, and inquire about the expected processing time for your name correction request.
5. Submitting Your Application: Once you have completed the application and gathered the required documentation, submit it to the passport issuing authority. Follow their guidelines for submission, whether in person, through mail, or via an online application portal, if available.
6. Tracking Your Application: Many passport issuing authorities provide a tracking system to monitor the status of your application. Keep track of your application and follow up if necessary. This will help you stay informed about the progress of your name correction request.
7. Receiving Your Corrected Passport: Once your application is processed, you will receive a new passport with the corrected name. Follow the instructions provided by the passport issuing authority to collect your updated passport. Verify that the corrected name is accurate before any future travel plans.
Note that specific steps and requirements for correcting a name on your passport may vary depending on your country and the passport issuing authority's policies. Contacting the passport issuing authority directly and following their guidelines ensures you receive accurate, up-to-date information for your case. Before traveling, ensure your passport details match your booking—if you need to update airline records, you may need to modify reservation on Expedia or use their tools to locate my reservation on Expedia after your passport is corrected. Additionally, if your new passport includes a chip, you can identifying a passport with a chip to confirm it’s ready for electronic travel systems.
Contacting the Passport Issuing Authority
When you discover an incorrect name on your passport, your first step is to contact the passport issuing authority in your country—the government agency responsible for issuing passports and handling related matters. Here are the key steps to follow when reaching out:
1. Research the Correct Contact Information: Identify the correct contact details for the passport issuing authority, typically found on the official government website or by calling a passport office directly. Make sure you have accurate phone numbers, email addresses, and physical addresses for communication.
2. Gather Essential Details: Before contacting them, collect all necessary information related to your passport and name correction. This includes your passport number, current name, desired corrected name, and any supporting documentation you may have.
3. Choose the Appropriate Communication Channel: Passport authorities usually offer several contact methods, such as phone, email, or in-person visits. Select the most convenient and efficient option based on your situation and the accessibility features the authority provides.
4. Prepare a Clear and Concise Explanation: When you communicate, clearly explain the issue with the incorrect name on your passport. Provide all relevant details and emphasize the urgency so they understand the importance of your request.
5. Seek Clarification on Process and Requirements: Ask about the specific steps and requirements for correcting the name on your passport. Inquire about application forms, supporting documents, fees, processing times, and any additional steps you must follow.
6. Take Notes and Record Reference Numbers: During your conversation, jot down important details and note any reference numbers the authority gives you. These will be helpful for future correspondence or follow-up questions about your name correction request.
7. Follow the Instructions Provided: The passport issuing authority will give you instructions for the name correction process. Carefully follow their guidelines, submit the required documents, and pay any applicable fees within the specified timeframe.
Remain patient and polite throughout your interaction. They are there to help you fix the name error and will provide the necessary guidance and support.
In the next sections, we will cover the documentation required for the name correction and how to submit your application to the passport issuing authority.
Required Documentation for Name Correction
When correcting an incorrect name on your passport, the issuing authority will require specific documentation to support your request. Exact requirements vary by country and authority, but here are the documents commonly requested:
1. Proof of Identity: You will typically need to provide your current passport, national identification card, or driver's license. These establish your identity and serve as a reference for the correct spelling of your name.
2. Birth Certificate: A birth certificate may be required to verify your original name and confirm the correct spelling. It is especially important if you have changed your name due to marriage, divorce, or legal reasons.
3. Marriage Certificate or Divorce Decree: If you have changed your name through marriage or divorce, you may need to provide the marriage certificate or divorce decree as evidence of the name change.
4. Court Order or Legal Documentation: In cases where your name has been legally changed for reasons other than marriage or divorce, you may need to provide a court order or other legal documentation to support the correction.
5. Notarized Affidavit: Some authorities may require a notarized affidavit explaining the name correction request and providing the correct spelling. This document serves as a sworn statement attesting to the accuracy of the correction.
6. Additional Supporting Documents: Depending on your circumstances, you may be asked for previous passports, citizenship certificates, or other official records to establish your identity and validate the correction.
7. Passport-sized Photographs: In some cases, you may need to provide updated passport-sized photographs that adhere to the specified guidelines. These should accurately represent your current appearance.
Carefully review the requirements provided by the passport issuing authority and gather all necessary documents. If any are missing or require additional verification, contact the authority for further guidance. In the next sections, we will discuss the process of submitting your application for name correction and the fees and processing time involved.
Submitting an Application for Name Correction
After gathering the required documentation for name correction, your next step is to submit an application to the passport issuing authority. The application process may vary depending on your country and the specific requirements of the issuing authority. Here are the general steps to follow when submitting an application for name correction:
1. Obtain the Application Form: Contact the passport issuing authority or visit their official website to obtain the application form for name correction. Ensure that you have the most up-to-date version of the form and carefully read the instructions provided.
2. Complete the Application Form: Fill out the application form accurately and completely. Provide all the necessary details, including your current incorrect name, the desired corrected name, and any other information requested. Double-check for errors or omissions before submitting the form.
3. Attach Supporting Documentation: Compile all the required supporting documentation as specified by the passport issuing authority. This may include proof of identity, birth certificate, marriage certificate or divorce decree, court order or legal documentation, notarized affidavit, and passport-sized photographs. Ensure that all copies are clear, legible, and certified if necessary.
4. Pay the Required Fees: Check the passport issuing authority's guidelines for any applicable fees for name correction. Follow their instructions for submitting payment, whether it's through online payment, bank deposit, or any other accepted method. Keep a record of the payment receipt or transaction details for future reference.
5. Submit the Application: Submit your completed application form, supporting documentation, and payment to the designated passport office or through the approved channels. This can be done in person, by mail, or through an online application portal, depending on the options provided by the issuing authority.
6. Track the Status of Your Application: If the passport issuing authority provides a tracking system, use it to stay updated on the progress of your application. This will give you an idea of the estimated processing time and allow you to follow up if necessary.
7. Follow any Additional Instructions: Throughout the application process, carefully follow any additional instructions provided by the passport issuing authority. This may include responding to any queries, providing further documentation if requested, or attending an interview or appointment, if necessary.
It is important to note that the specific application process and requirements for name correction can vary depending on your country and the passport issuing authority's policies. Therefore, it is crucial to closely follow the instructions provided and seek clarification if you have any doubts.
In the next sections, we will discuss the fees and processing time associated with correcting the name on your passport and provide guidance on tracking the status of your application.
Paying Fees and Processing Time
When applying for a name correction on your passport, fees are typically required. The exact amount and processing duration depend on your country and the passport issuing authority’s policies. Below is general guidance on fees and timelines for name corrections.
1. Fee Structure: Check the passport issuing authority’s official website or contact them directly to confirm the exact fees for a name correction. They will specify the amount due and accepted payment methods, such as credit/debit cards, bank transfers, or cash.
2. Fee Payment: Follow the authority’s instructions to pay the required fees. Keep a copy of the payment receipt or transaction details as proof of payment—this is useful for tracking and your records.
3. Processing Time: The time to process a name correction varies based on the authority’s efficiency, application volume, and any extra verifications needed. The issuing authority should provide an estimated timeline, typically ranging from a few weeks to a few months. Be aware that actual processing may take longer than the estimate.
4. Expedited Services: Some authorities offer expedited or fast-track processing for an additional fee. These services prioritize your application, reducing wait times. If you need a correction urgently, ask about expedited options and their requirements.
5. Maintain Communication: While waiting, stay in touch with the passport issuing authority. Follow up on delays, confirm you’ve submitted all required documents, and ensure your information is accurate to avoid complications.
6. Be Prepared for Delays: Unexpected delays can occur due to high application volumes or additional verification steps. Patience is essential during this period.
7. Plan Your Travel Accordingly: If you have trips coming up, factor in the processing time when booking. Allow sufficient time for the correction to be finalized before your departure to avoid disruptions—this is especially important if you need to locate my reservation on Expedia or make changes later, as an incorrect name could complicate bookings.
Fees and timelines vary by country and authority, so always consult the official website or contact them directly for accurate, current details. In the next section, we’ll cover how to track your application status.
Tracking Your Application
Once you have submitted your application for a name correction, staying informed about its progress is essential. Most passport issuing authorities provide tracking systems to help you monitor where your application stands. Here are the key steps to track your name correction application effectively:
1. Access the Tracking System: Check whether your passport issuing authority offers an online tracking portal. This is usually found on their official website. Look for a section labeled “Track Your Application” or similar, and click the relevant link to enter the system.
2. Use Your Application Reference Number: When you submitted your application, you should have received a unique application reference number. This identifier is your key to accessing status updates. Keep it handy, along with any other credentials (like your date of birth or a password) that the tracking system may require.
3. Check Online Updates: Log in to the tracking system using your reference number. Look for status indicators such as “received,” “under review,” or “processed.” The system may also flag if additional documents or steps are needed from your side. Check back after any significant change in your application’s status.
4. Contact the Passport Issuing Authority: If you cannot access the tracking system, encounter technical issues, or notice delays beyond the stated processing time, contact the authority directly. Have your reference number ready, and ask for a status update or clarification on any required actions.
5. Follow Up Regularly: Make it a habit to check your application status every week or two. If you see no movement for an extended period, or if you have concerns about missing documents, reach out to the authority for guidance. Proactive follow-up can prevent small issues from becoming bigger delays.
6. Be Patient: Name correction processes can take several weeks or even months, depending on the authority and time of year. Delays may occur due to high volumes or incomplete submissions. While waiting, avoid submitting duplicate applications, as this can slow things down further.
7. Plan Accordingly: Use the status updates to plan your travel. If you have a trip coming up, ensure you allow enough buffer time for the corrected passport to arrive. For urgent travel, check if the authority offers expedited services, but confirm availability before relying on them.
Tracking your application keeps you in control and reduces uncertainty. Always store your reference number, emails, and receipts in a safe place—you may need them for follow-ups. In the next section, we’ll cover what to do when your corrected passport arrives.
Receiving Your Corrected Passport
After completing the name correction process, you will eventually receive your corrected passport. Here are the key points to consider regarding its receipt:
1. Notification of Completion: The passport issuing authority will notify you when your name correction is complete. This notification may arrive via email, SMS, or mail, depending on the authority’s communication preferences.
2. Collecting Your Passport: Follow the instructions in the notification to collect your corrected passport. You may need to retrieve it in person from a designated office or service center, or you may have the option to have it delivered by mail or courier to your designated address.
3. Verification and Satisfaction: Upon receiving your corrected passport, carefully examine the information page to ensure the name correction is accurate. Verify your name, personal details, and any additional updated information. If there are errors or discrepancies, contact the passport issuing authority immediately for assistance.
4. Signatures and Endorsements: Your corrected passport may require your signature on the designated page. Follow the provided instructions and sign as required. Be aware of any endorsements or stamps added during the correction process.
5. Retaining Old Passport: In some cases, the authority may request that you surrender your old passport upon receiving the corrected one. Follow their instructions regarding handling and disposal. If you must return it, take measures to invalidate or render it unusable to prevent misuse.
6. Informing Relevant Parties: After receiving your corrected passport, update your corrected name with relevant parties such as your employer, bank, insurance provider, and any other entities that may have your passport on file. This aligns your official records with the new name.
7. Safekeeping: Once you have your corrected passport and have completed all updates, store it in a safe, secure location. Protect it against loss, theft, or damage. Always carry it when required, such as during travel, and safeguard it throughout your journeys.
Receiving your corrected passport marks the completion of the name correction process. Verify the accuracy of the corrections and take the necessary steps to align your official records. With your updated passport in hand, you can confidently embark on future travel adventures.
Conclusion
Prompt action is essential if you discover an incorrect name on your passport, as errors can cause delays at airport security and immigration, and hinder access to services abroad. To correct the mistake, contact your passport issuing authority for specific instructions. Gather the required documentation, fill out the application form accurately, and pay the necessary fees. Maintain open communication with the issuing authority, follow up if needed, and track the status of your application. Processing times vary and may include additional verification steps.
Once you receive your corrected passport, verify the name correction carefully. Update relevant parties and organizations with your new name. Secure your passport and carry it responsibly. For example, when you scan a passport at a self-service kiosk, the chip data must match your ticket exactly. Similarly, if you need to add your known traveler number to an existing booking, ensure the name on the reservation matches your passport precisely.
By following these steps, you can avoid complications and ensure a seamless travel experience while complying with legal requirements.
Related travel guides: How To Change Your Last Name On Your Passport and How To Apply For An EU Passport.