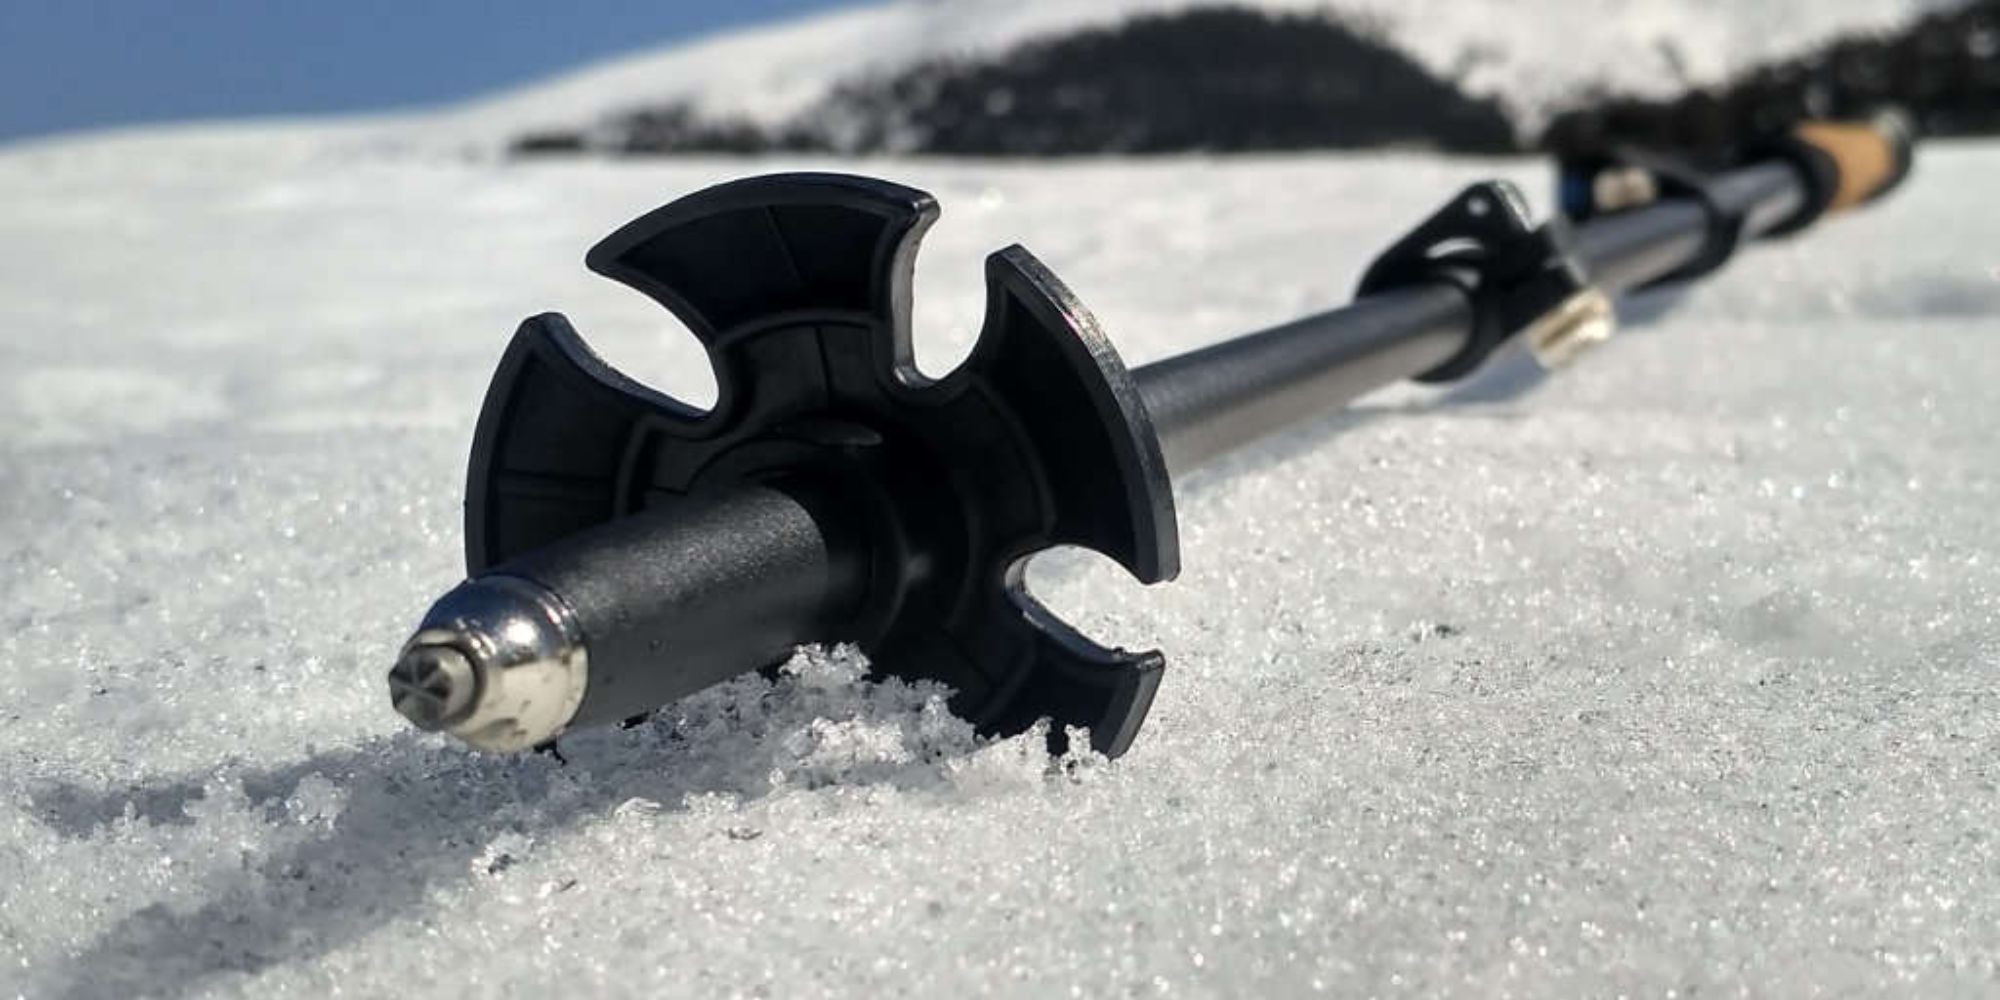
To remove snow baskets from your trekking poles, twist the basket counterclockwise and pull it downward by hand. You typically do not need any tools, though the exact method depends on your poles' attachment type. This simple process lets you switch from winter to non-snowy terrain, preventing the baskets from snagging on rocks, roots, or vegetation and keeping your poles stable and versatile year-round.
Understanding Snow Baskets
Snow baskets, also known as winter baskets, are attachments added to the bottom of trekking poles. They are designed for snowy conditions and soft ground, providing support and stability by preventing the poles from sinking too deep into snow, making it easier to maintain balance and exert force in winter landscapes.
Snow baskets typically have a circular shape with a wide surface area to distribute the hiker’s weight evenly, preventing the poles from getting stuck in deep snow or sinking into soft ground for smoother movement.
Basket size varies by intended use: larger baskets suit deep snow and backcountry skiing, while smaller baskets work better on packed snow or icy surfaces. Choose the right size based on the snow conditions you’ll encounter.
Beyond snowy terrain, snow baskets can offer support when crossing rivers or marshy areas, preventing poles from sinking into muddy ground.
Snow baskets are removable, allowing users to switch them out or remove them when not needed. This versatility makes trekking poles suitable for year-round use, adaptable to different terrains and weather conditions.
When transitioning from snow-covered trails to non-snowy terrain, it becomes necessary to remove the snow baskets. Leaving them attached can make poles less stable and cause snagging on rocks, roots, or vegetation. Removing them optimizes poles for a smoother, safer hiking experience in non-winter conditions.
To remove snow baskets, you typically do not need any tools, depending on the type of attachment your trekking poles have. Simply twist the basket counterclockwise and pull it downward by hand. This straightforward process is part of maintaining your mountaineering gear and packing lists in adventure.
Now that we understand snow baskets, let’s move on to why it’s important to remove them when the snow melts or when transitioning to a non-snowy trail.
Why Remove Snow Baskets
While snow baskets are useful in snowy conditions, there are several reasons to remove them when the snow melts or when transitioning to a non-snowy trail.
1. Improved Stability: Snow baskets prevent poles from sinking into soft ground or deep snow. On solid ground or packed trails, they can cause instability. Removing them allows the poles to make direct contact with the ground, providing better stability and control.
2. Avoid Snagging: Snow baskets can catch on rocks, roots, or vegetation on non-snowy trails. This disrupts your rhythm, increases the risk of tripping, and can damage the baskets or poles. Removing them eliminates snagging and ensures a smoother hike.
3. Lighter Weight: Snow baskets add extra weight. In non-snowy conditions, carrying that weight is unnecessary and can cause fatigue over long distances. Removing them reduces overall gear weight, allowing you to move more efficiently and conserve energy.
4. Adaptability to Different Terrains: Removing snow baskets lets you adapt poles to different terrains and weather conditions—whether trekking along rocky trails, sandy beaches, or muddy paths. The flexibility to switch between basket types or use none ensures optimal performance.
5. Extended Lifespan: Taking off snow baskets when not needed prolongs the lifespan of both baskets and poles. Snow baskets are prone to wear and tear when exposed to rough surfaces or snagging. Removing them when appropriate preserves durability.
Overall, removing snow baskets when transitioning to non-snowy terrain is essential for maintaining stability, avoiding snagging, reducing weight, adapting to different terrains, and prolonging equipment lifespan. This knowledge is useful for anyone assembling mountaineering gear and packing lists in adventure, as well as for those seeking camping tips tent in adventure where pole versatility matters.
Preparing to Remove Snow Baskets
Before removing snow baskets from your trekking poles, take these preparatory steps.
- Check the manufacturer’s instructions or research the specific model to determine the correct method for removing the baskets.
- Choose an Adequate Workspace: Find a clean, well-lit area with a flat surface where you can comfortably work on your poles.
- Ensure Pole Stability: Secure your trekking poles so they won’t roll or move unexpectedly. Use clamps or hold them firmly against a stable surface to prevent accidents or damage.
- Check for Any Damage: Inspect your poles for cracks, bent sections, or loose parts, especially around the basket attachment area. Address any issues before proceeding.
- Read the Instructions: If your poles came with a user manual, read it thoroughly. Different brands and models may have different mechanisms, so familiarize yourself with the correct procedure. This is especially important when preparing mountaineering gear and packing lists in adventure, as pole maintenance is a key part of that process.
By taking these steps, you ensure you have the right workspace and a safe environment to remove the snow baskets. Now, proceed to the next section for the removal process.
Removing Snow Baskets from Trekking Poles
Removing snow baskets from your trekking poles is a simple process that typically requires no tools. The exact method varies by brand and model. Here is a general step-by-step guide:
- Identify the Attachment Type: Determine how the snow baskets are secured to your trekking poles. Common types include twist-lock, lever-lock, or push-button mechanisms.
- Loosen the Attachment: Depending on the mechanism, twist the basket counterclockwise, release the lever, or press the button to loosen it. This allows you to separate the snow basket from the lower section of the pole.
- Remove the Snow Basket: Once loosened, pull the basket downward by hand. It should slide off without resistance. If you encounter difficulty, double-check that the mechanism is fully released.
- Inspect and Clean: Examine the snow baskets for dirt, debris, or wear. Clean them with a damp cloth or brush to maintain performance and extend lifespan.
- Secure the Trekking Poles: To prevent the poles from collapsing or rolling away, lean them against a stable surface or use clamps.
Some trekking pole models may have additional steps or unique mechanisms. If unsure, refer to the manufacturer's instructions or consult their customer support. For those assembling their mountaineering gear and packing lists in adventure, knowing how to swap baskets is essential for adapting to different terrain.
Once the snow baskets are removed, you can store them for future use or replace them with different basket types, such as mud baskets or rubber tips, which provide better grip on various surfaces. Some brands offer interchangeable basket options for different conditions.
Tips and Tricks
Removing snow baskets from your trekking poles can be made even easier with these helpful tips and tricks. Simply twist counterclockwise and pull downward by hand.
- Label Your Baskets: If you have multiple sets of baskets for different terrains, consider labeling them to easily identify and swap them out. This will save you time and confusion when you need to attach the appropriate baskets for your next adventure.
- Apply Lubrication: If your locking mechanism feels stiff or difficult to loosen, applying a small amount of lubricant can make it easier to release. Be sure to use a lubricant specifically designed for outdoor gear to avoid attracting dirt or causing damage.
- Keep Spare Parts: It's always a good idea to keep spare parts, such as extra screw caps or locking mechanisms, in your backpack. Accidents happen, and having the necessary replacements on hand can save your trekking poles and prevent your trip from being cut short.
- Practice Before Your Trip: If you're new to removing snow baskets, practice the process at home or in a controlled environment before heading out on the trail. This way, you'll become more familiar with your poles and can confidently remove and reattach the baskets when needed.
- Store Baskets Properly: When you're not using the snow baskets, store them in a clean and dry place. Consider keeping them in a small pouch or bag to prevent scratches or damage. Proper storage ensures that your snow baskets remain in good condition and are ready for use whenever necessary.
- Consult Your Local Outdoor Store: If you're unsure about any aspect of removing or replacing snow baskets, don't hesitate to visit your local outdoor store. The knowledgeable staff can provide valuable guidance and even demonstrate the process with your specific trekking poles. They can also help with mountaineering gear and packing lists in adventure.
By following these tips and tricks, you'll be well-prepared to remove and replace snow baskets on your trekking poles efficiently and effectively. Remember, practice makes perfect, and the more familiar you become with the process, the smoother it will be each time you need to switch baskets during your outdoor adventures.
Now, armed with the knowledge of removing snow baskets and the helpful tips provided, you're ready to optimize your trekking poles for different terrains and enjoy your hiking experiences to the fullest.
Conclusion
Removing snow baskets from your trekking poles is an important skill when transitioning from snowy to non-snowy trails or when you don't require the extra support and stability. By removing them, you enhance your poles' performance, increase stability, and avoid snagging on rocks or vegetation.
The process involves twisting counterclockwise and pulling downward by hand. Gather your workspace, and familiarize yourself with the specific attachment mechanism used by your poles. By following the step-by-step process, you can safely remove the baskets and customize your poles for the terrain.
We also provided tips such as labeling your baskets, applying lubrication, storing spare parts, and practicing before your trip. These suggestions make the process more efficient and convenient. Whether you are fine-tuning your mountaineering gear and packing lists in adventure or simply adjusting for a day hike, these skills apply.
Now that you're equipped with the knowledge on removing snow baskets, you can confidently adapt your gear to suit various terrains and weather conditions. Always prioritize safety and take proper care of your trekking poles and accessories. This ensures the longevity of your gear and a more enjoyable hiking experience.
Go ahead and hit the trails with your optimized trekking poles, knowing you have the skills to remove snow baskets with ease whenever necessary. Happy hiking!
Related travel guides: How To Adjust Anti-shock Trekking Poles.