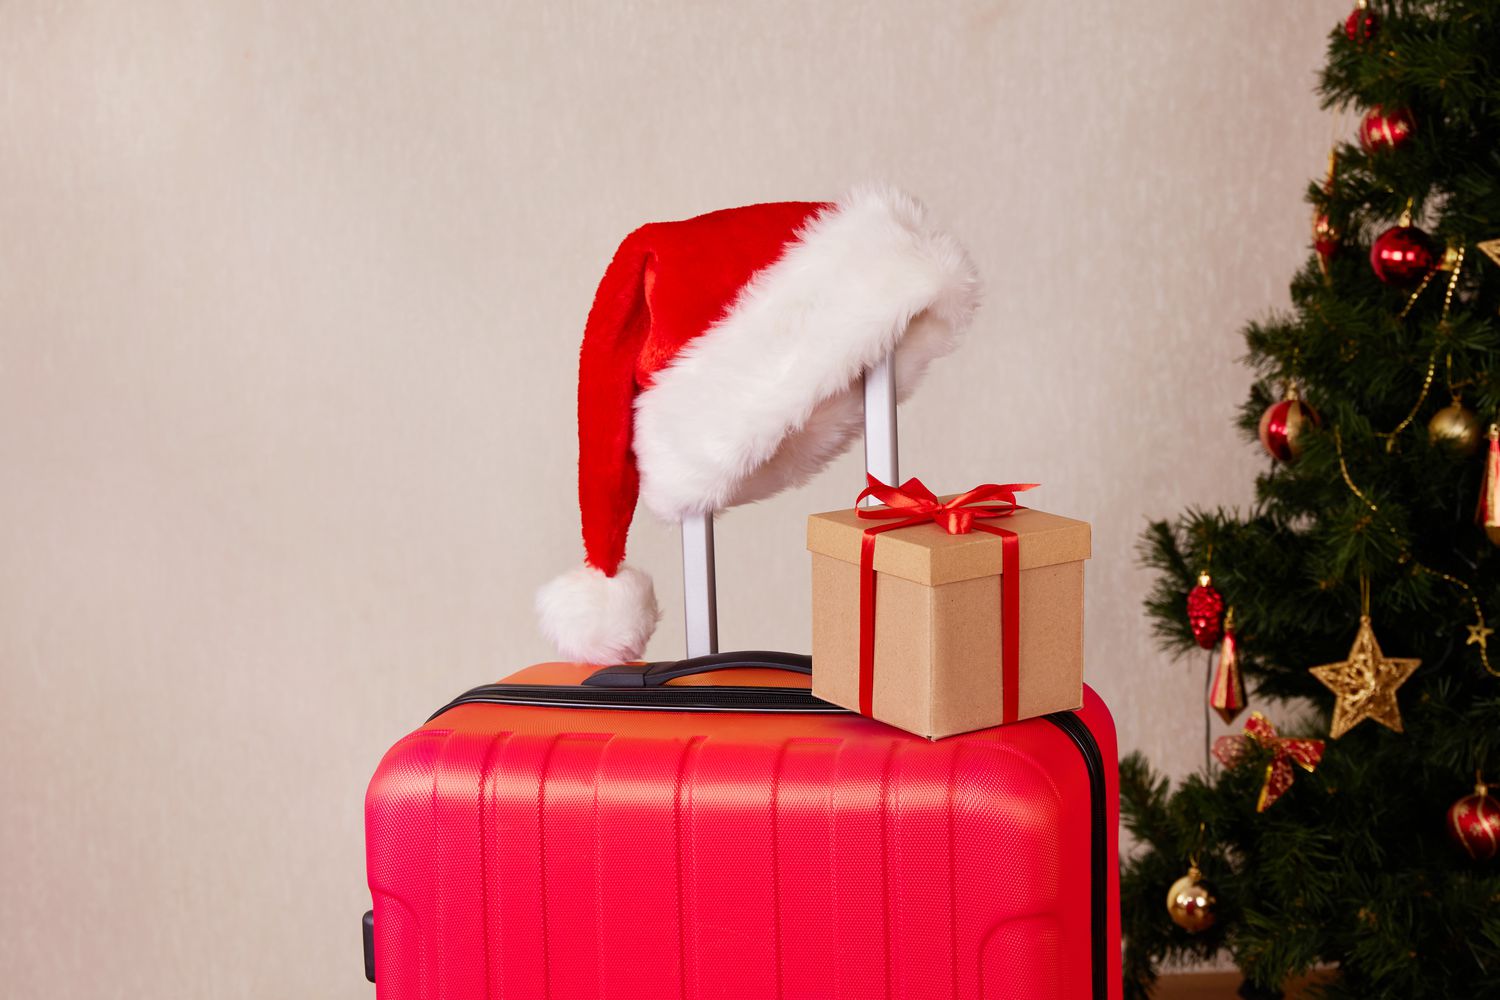
To wrap a suitcase for a gift, you use plastic wrap and tape to protect the real luggage, not decorative gift paper. If instead you want a box to look like a suitcase, brown kraft paper, ribbon straps, and a paper handle create that effect. Either way, start by gathering your materials—protective wrap or kraft paper, scissors, tape, and any ribbon or tags—then clean and prepare the suitcase or box on a flat surface before wrapping.
Gather Materials
Before you begin, it’s important to gather all the necessary materials. Having everything within reach will make the process smoother. Here’s what you’ll need:
- Protective wrap: Use plastic wrap or protective film and tape to wrap a real suitcase, as decorative gift paper is not recommended for actual luggage.
- Scissors: A sharp pair of scissors will ensure clean cuts and precise measurement.
- Tape: Opt for transparent tape or double-sided tape, which will help keep the protective wrap secure and tidy.
- Ribbon or twine: If making a box look like a suitcase, ribbon can be used for decorative straps and a handle.
- Tags or cards: If making a box look like a suitcase, you can attach a gift tag to the paper handle.
- Optional embellishments: If making a box look like a suitcase, consider using travel-themed stickers or patches.
Once you have gathered these materials, find a clean and spacious area to work on your wrapping. A flat surface like a table or clean floor will provide ample space. Ensure that your scissors are sharp and your tape is easily accessible, as you’ll be using them frequently.
If you’re wrapping a real suitcase, keep in mind that the protective film should be applied snugly to avoid shifting during transit—similar to how you’d protect luggage before a flight, much like checking whether your suitcase size fits under an airline seat. The materials you choose will depend on your personal preferences and the occasion. Now that you have all the necessary supplies, it’s time to move on to the next step: cleaning and preparing the suitcase.
Clean and Prepare the Suitcase
Before you begin wrapping, it's important to ensure that the suitcase is clean and free from any dust, dirt, or debris. This will not only make the gift look more presentable but also protect the suitcase from any potential damage during the wrapping process.
Start by removing any loose items or personal belongings that may be inside the suitcase. Emptying the contents will give you a clear surface to work with and allow you to thoroughly clean the interior.
Next, wipe down the exterior and interior of the suitcase with a clean, damp cloth. Pay attention to any stains or marks and gently scrub them away. For stubborn stains, you can use a mild detergent or soap solution. Just remember to dry the suitcase completely after cleaning to prevent any moisture from being trapped inside.
If your suitcase has any fragile parts or delicate embellishments, such as leather trims or decorative hardware, handle them with care during the cleaning process to avoid causing any damage.
Once the suitcase is clean and dry, ensure that all zippers, locks, and latches are functioning properly. Double-check that the handle and wheels are securely attached and in good working condition. Taking the time to inspect and prepare the suitcase will ensure that it is in optimal condition for both wrapping and future use.
If the suitcase has any sharp edges or protruding elements, consider adding a layer of protective padding or tape to prevent the wrapping material from tearing or getting damaged.
Now that your suitcase is clean and ready, it's time to move on to the next step: choosing the right wrap. If you meant wrapping a real suitcase as a gift, sources recommend using plastic wrap or protective film and tape rather than decorative gift paper. However, if you want to make a gift look like a suitcase, use brown kraft paper, ribbon straps, and a paper handle for that classic travel-inspired look.
Choose Wrapping Paper
1. Suitcase Size and Shape: Take into account the size and shape of the suitcase when choosing the wrapping paper. Ensure that the paper is wide enough to cover the entire suitcase with some excess for folding and securing. If you're wrapping a smaller suitcase, you can opt for a single sheet of wrapping paper. For larger suitcases, you may need multiple sheets or a roll of wrapping paper.
2. Theme or Occasion: Consider the occasion or theme of the gift when selecting the wrapping paper. If it's for a travel enthusiast, you can use a map-themed wrapping paper to add a touch of adventure. For a more elegant and sophisticated look, choose solid-colored or metallic wrapping paper.
3. Durability: Since suitcases can be heavy and have protruding elements, it's important to choose a sturdy wrapping paper that can withstand the weight and avoid tearing or puncturing easily. Look for wrapping paper with a thicker stock or consider using double-layered wrapping paper for added durability.
4. Personalization: If you want to add a personal touch, consider customizing the wrapping paper. You can use plain brown or white kraft paper and decorate it with drawings, handprints, or personalized messages. This adds a unique and heartfelt touch to the gift.
Remember, the goal is to choose wrapping paper that complements the style and personality of the recipient. Whether it's bright and colorful or simple and elegant, the wrapping paper should reflect their taste and make the gift feel even more special.
Once you have chosen the perfect wrapping paper, it's time to measure and cut it to the right size. This will ensure a neat and tidy wrapping job, allowing you to showcase the suitcase beautifully. Stay tuned for the next section on how to measure and cut the wrapping paper!
Measure and Cut Wrapping Paper
For a real suitcase, skip the paper and proceed with protective film. For a box, here’s how to measure and cut decorative paper:
1. Lay the wrapping paper: Find a clean and flat surface to lay out the wrapping paper. Unroll or unfold the paper and smooth out any wrinkles or creases. Make sure you have enough space to accommodate the entire length and width of the box.
2. Position the box: Place the box in the center of the wrapping paper with the top facing down. Align it carefully to ensure that it is positioned straight and centered.
3. Measure the length: Measure the length of the box by starting from one end and extending the wrapping paper all the way to the other end. Add a few inches of extra paper to allow for folding and securing. This additional overlap will ensure that the entire box is covered.
4. Measure the width: Measure the width of the box by measuring from one side to the other. Again, add a few inches to accommodate for folding and securing.
5. Cut the wrapping paper: Once you have measured the length and width, use a sharp pair of scissors to cut along the marked lines. Make sure to cut in a straight line for a clean and polished look.
6. Trim excess paper: If you have excess wrapping paper on the sides, trim it so that there's just enough to fold neatly around the edges of the box. This will prevent any bulkiness and ensure a tight and secure wrapping.
7. Repeat if necessary: If your box is larger than the width of the wrapping paper, you may need to cut additional sheets or strips to cover the remaining areas. Simply follow the same measurement and cutting process to create the required pieces.
By taking the time to measure and cut the wrapping paper accurately, you will be able to create a tailored and professional-looking wrap for the box. The precise measurements will also make it easier to fold and secure the wrapping paper around the box in the next steps.
Now that you have your perfectly cut wrapping paper, it's time to move on to wrapping the main body of the box. Stay tuned for the next section on how to wrap the main body!
Wrap the Main Body of the Suitcase
For a real suitcase, skip the paper and use protective film instead. Here’s how to wrap the main body if you’re using paper on a box styled as luggage:
1. Ensure the box is aligned straight and centered.
2. Fold over one side: Take one side of the wrapping paper and fold it over the box, pulling it taut. Make sure the paper covers the entire side, leaving a slight overlap for a secure fit. This will be the first side you fold and secure.
3. Fold over the other side: Repeat the same process on the opposite side. Pull the paper tightly and fold it over, overlapping with the first side. Smooth out any wrinkles or creases as you go, ensuring a clean wrap.
4. Secure with tape: Once both sides are folded over the main body, secure them in place using transparent tape or double-sided tape. Place the tape on the underside or inner part of the paper to maintain a seamless appearance.
5. Fold and secure the ends: Take the remaining ends of the paper and fold them neatly toward the center. Make sure the corners are crisp and the folds are clean. Apply tape to secure the ends in place, ensuring a snug fit.
6. Smooth out any wrinkles: Take a moment to smooth out any wrinkles or creases. Gently run your hand over the surface, pressing down any air bubbles or uneven areas. This will give your gift a polished look.
Now that the main body is wrapped, it’s time to move on to wrapping the handles and straps. Stay tuned for the next section on how to do so!
Wrap the Handles and Straps
After wrapping the main body of the suitcase, it's time to focus on the handles and straps. This step helps create a cohesive look for your gift. Here's how to handle them:
1. Assess the handles and straps: Take a close look at the handles and straps to determine if they are fixed or detachable. If they are detachable, remove them temporarily for easier wrapping. If they are fixed, proceed to the next step.
2. Prepare the wrapping material: Cut out two small rectangular pieces of your wrapping material. The size of the pieces will depend on the length and width of the handles and straps. They should be wide enough to fully cover the handles and straps when wrapped around them.
3. Wrap the handles: Place one of the rectangular pieces around the handle, making sure it covers the entire length. Secure the material in place by folding the edges neatly and sealing them with tape. Repeat this step for the other handle.
4. Wrap the straps: If your suitcase has straps, place the second rectangular piece around each strap, ensuring they are completely covered. Fold and tape the edges neatly to secure the material in place.
5. Reattach the handles and straps: If you removed the handles or straps in step 1, now is the time to reattach them. Make sure they are securely fastened and aligned properly with the suitcase.
6. Gently run your hand over the wrapped areas, ensuring they look neat and presentable.
For a real suitcase, skip decorative paper—protective wrap is the way to go. Ribbon or twine works if making a box look like a suitcase, where it can serve as decorative straps and a handle. For tags, attach a gift tag to the paper handle on a box, but not on a real wrapped suitcase. For optional embellishments, travel-themed stickers or patches suit a box made to look like a suitcase, but avoid bows or decorative elements on real luggage wrapped in film.
This approach ensures your gift looks polished—whether it's a real suitcase protected with film or a box styled as luggage. By following these steps, your wrapped gift will have a neat finish.
Secure the Wrapping Paper
Once the main body and handles are covered, follow these steps to keep everything secure:
1. Inspect the wrapping: Take a moment to check for any loose or uneven areas. Smooth out wrinkles or creases to create a clean, polished appearance.
2. Use transparent tape: Cut small pieces of transparent tape and use them to secure any loose edges or folds. Be careful not to tape directly onto the suitcase’s surface to avoid damage when removing the wrapping.
3. Reinforce with extra tape: For added durability, reinforce the edges and seams with additional tape. This prevents accidental tearing or unraveling during transportation or handling.
4. Securing the handles and straps: If you wrapped the handles and straps separately, ensure the paper around them is securely taped. Tape them tightly, hiding the tape from view to maintain a seamless appearance.
5. Double-check for loose ends: After securing, check for any loose ends or areas needing attention. Smooth the surface once more for a clean finish.
Now that the wrapping is secure, it’s time to add decorative accents. Stay tuned for the next section on finishing touches.
Add Decorative Accents
The following decorative accents apply to that box-based approach, not to wrapping actual luggage.
1. Choose a color that complements the kraft paper or opt for a contrasting shade to add visual interest. Tie a bow or knot, ensuring it is securely fastened and positioned to enhance the overall design.
2. Consider using themed or handmade tags that match the occasion or reflect the recipient's interests. This adds a thoughtful and personal touch to the gift.
3. Stickers or decals: If you're looking to add a fun and playful touch, consider using travel-themed stickers or patches to decorate the box. Choose designs that resonate with the recipient's personality, such as travel-themed stickers or their favorite hobby-related decals.
4. Bows or embellishments: If making a box look like a suitcase, avoid adding bows or decorative elements that aren't supported by the sourced advice. Stick to the travel-themed stickers or patches mentioned above for a cohesive look.
5. Gift wrapping accessories: Explore the wide range of gift wrapping accessories available, such as decorative washi tape, patterned tissue paper, or even small trinkets and charms that can be attached to the box. These accessories can provide a unique and personalized touch.
When adding decorative accents, be mindful of not overdoing it. Choose a few key elements that will complement the wrapping paper and enhance the overall presentation without overwhelming the design.
By incorporating these decorative touches, you can transform a box into a visually stunning gift that is sure to impress the recipient. It shows that you've put thought and effort into every detail, making the gift even more memorable.
Final Touches and Presentation
Now that you’ve wrapped the suitcase and secured the material, it’s time to put the final touches on your gift and prepare it for presentation. Here are some steps to consider:
1. Check the overall appearance: Take a step back and assess the wrapped suitcase. Ensure that everything is neatly wrapped, the edges are secure, and any decorative accents are positioned correctly. Smooth out any wrinkles or creases to create a polished look.
2. Double-check for any tape or tags: Scan the wrapped suitcase to make sure you haven’t left any visible tape or gift tags on the surface. Adjust or hide any tags or tape strips, ensuring that they are discreet and hidden from view.
3. Clean the suitcase exterior: Give the exterior of the suitcase a final wipe-down with a clean, dry cloth to remove any fingerprints, smudges, or dust. This will ensure that the gift looks pristine and well-presented.
4. Prepare the presentation area: Choose a designated area to present the gift. Clear any clutter or distractions from the surroundings, creating a clean and visually appealing space. Consider adding some decorations or a themed backdrop to enhance the presentation.
5. Arrange the gift: Place the wrapped suitcase in the chosen presentation area, ensuring that it is centered and positioned in an aesthetically pleasing way. Take a moment to adjust the placement, ensuring it looks visually balanced and inviting.
6. Add a finishing touch: Consider adding a final embellishment or decorative element to the presentation. This could be a small bouquet of flowers, a handwritten note, or a small gift tag with a special message. The finishing touch adds an extra touch of thoughtfulness and attention to detail.
Lastly, take a step back and admire your beautifully wrapped suitcase. The effort and care you put into the presentation will be evident, making the gift-giving experience more memorable for both you and the recipient.
Remember to capture the moment by taking a photo of the wrapped suitcase before presenting it to the recipient. This will serve as a memento of the thought and effort you put into creating a stunning gift presentation.
Now that you’ve completed the final touches and prepared the wrapped suitcase for presentation, it’s time to gift it to the lucky recipient. Enjoy the joy and excitement that comes with giving a beautifully wrapped suitcase!
And there you have it! With these steps, you’ve successfully wrapped a suitcase for a gift, ensuring that the presentation is elegant and memorable. Now go ahead and surprise someone with this thoughtful and visually stunning gift. Happy gifting!
Conclusion
For a real suitcase, the process begins with cleaning and preparing the surface, then applying protective film or plastic wrap and securing it with tape. Decorative gift paper is not recommended for actual luggage, as it can tear or shift during handling.
Ensure all wrapping is secured properly so the gift stays intact during transportation. Pay attention to final touches and create an inviting presentation area. Whether you are wrapping a real suitcase in protective film or crafting a suitcase-shaped box, the effort you put in will make the gift memorable. The recipient will appreciate the care and creativity, turning an ordinary present into something special.
So, the next time you have a special occasion where a suitcase makes a perfect gift, decide which method suits your needs—protective wrapping for real luggage or a decorative box illusion—and add an extra touch of surprise and elegance. Happy wrapping!
Related travel guides: How To Decorate A Suitcase and How To Clean A Samsonite Suitcase.