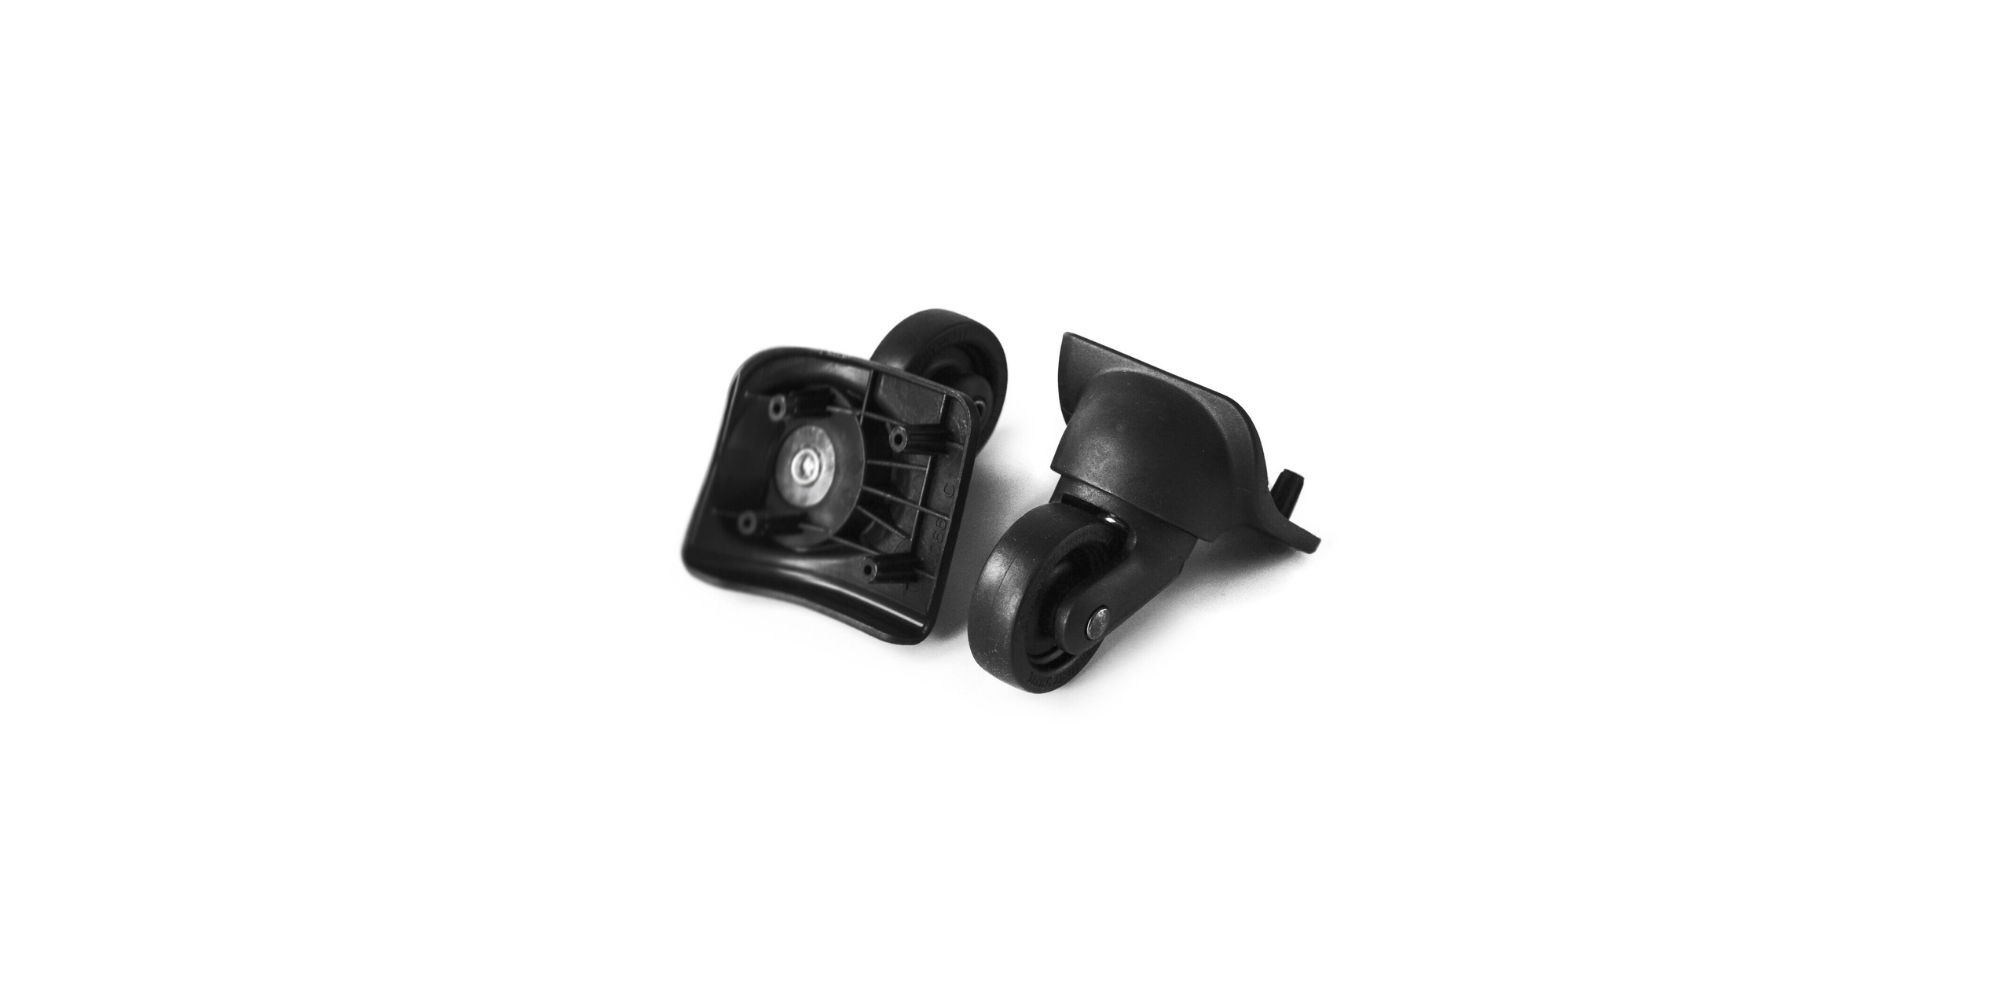
To replace a wheel on an American Tourister case, you remove the screws holding it and swap in a new one. However, the exact method depends on your case model, and some wheels are riveted rather than screwed in. Identify the correct replacement wheel by orientation with the bag logo facing you: Left Front (LF), Left Rear (LR), Right Front (RF), or Right Rear (RR), or contact the manufacturer. Depending on the case model, you may need a Phillips screwdriver to remove screws that secure the wheel in place. If your case uses a different fastening mechanism, consult the manufacturer or a repair guide for the appropriate tool.
Step 1: Gather the necessary tools
Before you begin the process of replacing the wheel on your American Tourister case, it's essential to gather the necessary tools. Having the right tools on hand will ensure a smoother and more efficient process. Here are the tools you will need:
Related travel guides: How To Fix A Hard Shell Suitcase, How To Replace RIMOWA Wheel, and How To Fix A Travelpro Suitcase Carry Handle.
- Make sure it matches the specifications and design of the existing wheel.
- Pliers: In some cases, you might need pliers to grip and remove stubborn screws or fasteners holding the wheel in place.
- Tape or marker: It's helpful to have tape or a marker to label the location of any screws or fasteners that are removed during the process. This will make reassembly much easier.
- Cloth or towel: Have a cloth or towel on hand to protect your luggage from any scratches or damage while working on it.
Once you have gathered all the necessary tools, you're ready to move on to the next step: examining the damaged wheel and assessing the repair needs.
Step 2: Examine the damaged wheel
Before replacing the wheel, examine it closely to identify specific issues and determine whether it can be repaired or must be replaced.
Inspect the wheel's exterior for visible damage or wear, such as cracks, chips, or missing pieces that could make the wheel unsafe or ineffective. Check whether the wheel rotates smoothly or has become stiff or jammed.
If the wheel is dirty or clogged with debris, clean it with a brush or cloth to remove dirt, dust, or foreign objects that may be causing malfunction.
If the wheel is significantly damaged—cracked or missing sections—replace it entirely. A damaged wheel compromises the stability and maneuverability of your American Tourister case.
Once you've assessed the condition and determined a replacement is needed, you can proceed to remove the old wheel.
Step 3: Remove the old wheel
Now that you have assessed the condition of the damaged wheel, it's time to remove it from your American Tourister case. Follow these steps to safely and effectively remove the old wheel:
- Place your American Tourister case on a sturdy and stable surface, ensuring that it is well-supported to prevent it from tipping over.
- If there are any screws securing the wheel, use the appropriate screwdriver to carefully remove them. Place the screws in a safe spot or attach them to a piece of tape to avoid misplacing them.
- If there are fasteners holding the wheel in place, remove them according to your case model's design.
- Once all the fasteners are removed or loosened, firmly grip the old wheel and gently pull it away from the case. The wheel should detach from its housing, allowing you to remove it completely.
As you remove the old wheel, take note of the position and orientation in which it was installed. This will help you during the installation of the new wheel later on.
With the old wheel successfully removed from your American Tourister case, you're ready to move on to the next step: preparing the new wheel for installation.
Step 4: Prepare the new wheel
Now that the old wheel has been removed from your American Tourister case, it's time to prepare the new wheel for installation. Follow these steps to ensure that the new wheel is ready to be securely attached:
- Inspect the new wheel for any defects or damage. Ensure that it is in good condition and free from any cracks, chips, or other imperfections that could affect its performance.
- If necessary, clean the new wheel using a brush or cloth to remove any dust or debris. This will help ensure a smooth and uninterrupted rolling motion.
- If the new wheel comes with screws, double-check that they are included and are the correct size.
- If the new wheel requires any additional components or attachments, make sure they are also included and ready for installation.
- Compare the new wheel's position to the old wheel to ensure they match.
Preparing the new wheel involves verifying its condition, cleaning if necessary, and ensuring that all the required components are present and accounted for. This will help ensure a smooth installation process and promote optimal performance once the new wheel is in place.
With the new wheel properly prepared, you're ready to proceed to the next step: installing the new wheel onto your American Tourister case.
Step 5: Install the new wheel
With the old wheel removed and the new wheel prepared, it's time to install the new wheel onto your American Tourister case. Follow these steps to ensure a successful installation:
- Position the new wheel in the same location and orientation as the old wheel, aligning any screw holes with the corresponding openings in the case.
- Insert the screws through the designated holes and tighten them securely, but be careful not to overtighten, as this could cause damage.
- If the new wheel requires fasteners, insert them through the appropriate openings and secure them using the appropriate tool.
- Fit the new wheel in place and reinstall the screws, ensuring it slides in until it clicks if applicable.
During the installation process, pay close attention to the alignment of the new wheel. Ensure that it sits flush against the case and rotates smoothly. If there are any adjustments needed, make them before proceeding to the next step.
Once the new wheel is securely installed, give it a gentle spin to test its rotation. It should roll smoothly and without any obstructions. If it doesn't rotate as expected, double-check the installation and make any necessary adjustments.
With the new wheel successfully installed, you're almost done! Continue to the next step to test the replacement wheel before completing the process.
Step 6: Test the replacement wheel
Now that the new wheel is installed on your American Tourister case, it's essential to test its functionality before completing the replacement process. Following these steps will ensure that the replacement wheel is working smoothly:
- Ensure that all the screws securing the wheel are tightened securely. Check for any loose or wobbly components and make any necessary adjustments.
- Place your American Tourister case on a flat and even surface.
- Gently push or pull the case, allowing the new wheel to roll freely. Test its smoothness of rotation and check for any dragging or resistance.
- Move the case in different directions to mimic various travel scenarios, such as pushing or pulling on different terrains or turning corners.
- Observe the new wheel's response and stability during these movements. Ensure that it supports the weight of the case and doesn't wobble or veer off track.
If the replacement wheel passes these tests and performs as expected, then congratulations! You've successfully replaced the damaged wheel on your American Tourister case. Your luggage is now ready for your next travel adventure.
However, if you encounter any issues, such as poor rotation, instability, or unusual sounds, it may be necessary to reevaluate the installation or seek professional assistance from American Tourister or a luggage repair service.
Now that you have tested and verified the functionality of the replacement wheel, it's time for the final step: performing some final checks and adjustments.
Step 7: Final checks and adjustments
In this final step of the wheel replacement process for your American Tourister case, it's important to perform some final checks and adjustments to ensure everything is in order. Follow these steps to complete the process:
- Inspect the entire wheel assembly, including the attachments, screws, and any other fasteners, to ensure they are securely fastened. Double-check for any loose components and tighten them if necessary.
- Test the rotation of the replacement wheel again, this time paying attention to any unusual sounds or resistance. If you notice any issues, retrace your steps and make any necessary adjustments.
- Move the case around, simulating normal travel conditions, to check the stability and smoothness of the new wheel. Ensure that it operates seamlessly and doesn't cause any imbalance or inconvenience.
- Take a moment to visually inspect the overall appearance of the replacement wheel. Ensure that it is aligned properly and sits flush against the case, without any noticeable gaps or misalignment.
- If you notice any further issues or concerns during the final checks, it's recommended to identify the correct replacement wheel by orientation with the bag logo facing you: Left Front (LF), Left Rear (LR), Right Front (RF), or Right Rear (RR), or contact the manufacturer.
By performing these final checks and adjustments, you can have peace of mind knowing that the new wheel is securely installed and functioning correctly. This step is crucial in ensuring that your American Tourister case is ready for your future travels and can withstand the rigors of airport handling and other travel conditions.
Conclusion
Having a reliable and functional wheel on your American Tourister case is crucial for seamless travel experiences. By following the step-by-step guide outlined in this article, you can replace a damaged wheel and restore your luggage's mobility and stability.
We began by gathering the necessary tools, including a replacement wheel, screwdriver, pliers, wrench, tape/marker, and cloth/towel. Then, we examined the damaged wheel to determine if it required repair or replacement.
In step three, we carefully removed the old wheel, ensuring that screws or other fasteners were handled with care and labeled to avoid misplacement or confusion during reassembly.
After preparing the new wheel in step four, we moved on to step five, where we installed it, aligning it properly and securing it with screws.
The functionality of the replacement wheel was then put to the test in step six, as we checked its smooth rotation and stability during various movements.
Finally, in step seven, we performed final checks and adjustments to ensure that the replacement wheel was securely fastened and aligned, giving us the confidence to rely on it for future travels.
By following these instructions and conducting the necessary checks, you can successfully replace a wheel on your American Tourister case, saving you time, money, and potential travel inconveniences.
With a repaired or replaced wheel, you can now embark on your next journey with confidence, knowing that your American Tourister case is equipped for smooth and hassle-free travel.