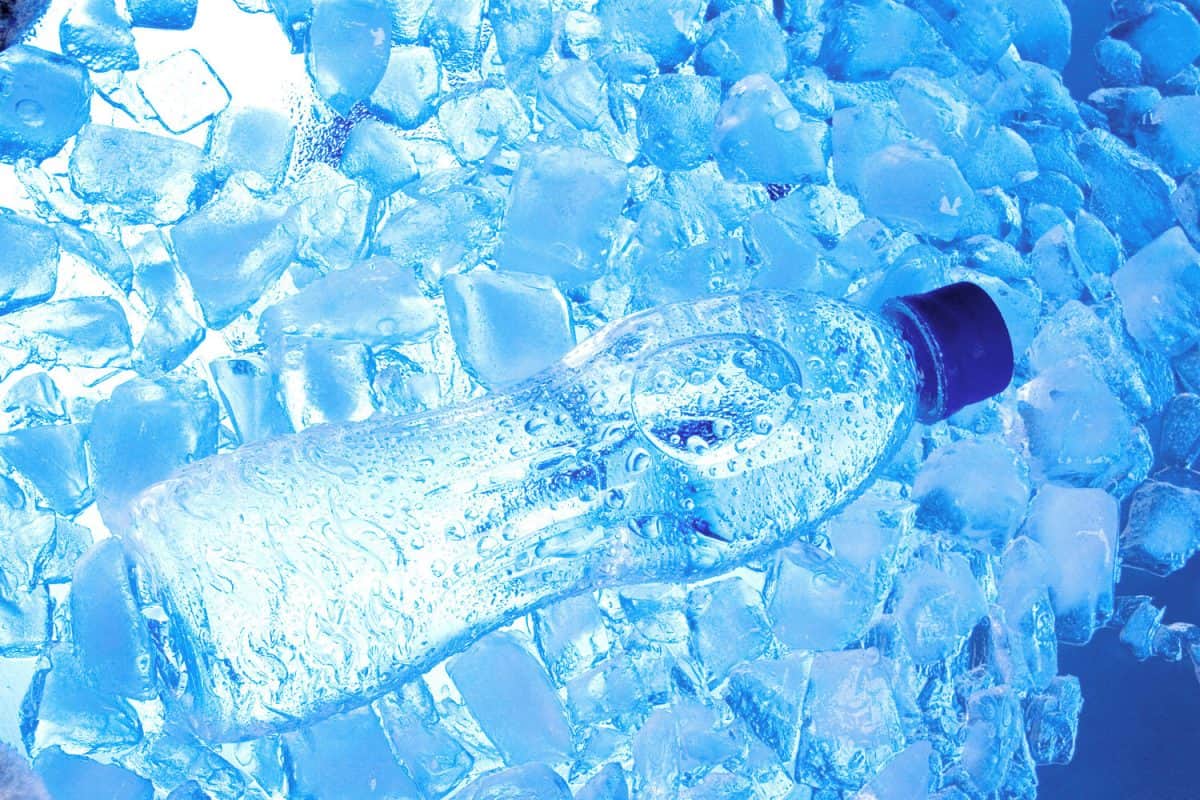
To make soft ice in a water bottle, you supercool purified water in a freezer for 1.5 to 3 hours, then tap or slam the bottle to trigger a slushy freeze. The catch is that you must use a durable bottle with a tight cap, leave a small air gap for expansion, and freeze it horizontally to get the right texture instead of a solid block.
Materials Needed
Before we dive into the process of making soft ice in a water bottle, let's gather all the materials you'll need:
- A clean and empty water bottle with a tight-fitting cap
- Purified or filtered water
- A freezer
It's important to choose a water bottle with a secure cap to prevent any leakage or spills during the freezing process. Opt for a bottle that is made of a durable material, such as BPA-free plastic or stainless steel.
Purified or filtered water is key to achieving the best quality soft ice. It helps eliminate any impurities or minerals that could affect the texture and taste of the ice. If you don't have access to purified water, you can use tap water, but be aware that the ice might not turn out as soft.
A freezer is, of course, the crucial element in this process. Ensure that your freezer is set to the coldest temperature possible to facilitate the formation of soft ice. It's also a good idea to clear out some space in your freezer to accommodate the water bottle.
Once you've gathered all the materials, you're ready to move on to the next step: preparing the water bottle for freezing.
Step 1: Preparing the Water Bottle
Start with a clean, empty water bottle. Rinse it thoroughly to remove any residue or lingering odors.
- Fill the bottle with purified or filtered water, leaving a small gap at the top so the water can expand as it freezes without bursting the bottle.
- Tightly seal the cap, double-checking that there are no leaks or openings that could cause water to escape during freezing.
- Place the prepared water bottle on its side in your freezer. Keep it horizontal for the best result. Leave it undisturbed for about 1.5 to 3 hours, checking before it freezes solid.
Once the time is up, remove the bottle from the freezer and tap, shake, or slam it on a counter or table to trigger the slushy freeze. The supercooled water will crystallize into slushy ice inside the bottle. If the soft ice is not releasing easily, gently squeeze the bottle or use a utensil to help it out—avoid running it under warm water, as this could melt the slush prematurely.
Step 2: Freezing the Water Bottle
Now that your water bottle is prepared, it's time to freeze it and turn the water into soft ice. Follow these steps:
- Keep the bottle horizontal for the best result.
- Set the freezer temperature to its coldest setting. This will help speed up the freezing process and ensure that the ice turns out soft and smooth.
- Leave the water bottle undisturbed in the freezer for about 1.5 to 3 hours, checking before it freezes solid.
During the freezing process, the water in the bottle will gradually cool to a supercooled state without freezing solid. The low temperature of the freezer combined with the unique freezing environment created inside the bottle will result in a velvety texture and creamy consistency once triggered.
It's important to note that freezing times may vary depending on the size of the water bottle, the freezer temperature, and the amount of water inside. Keep an eye on the bottle to ensure that it doesn't freeze solid before proceeding to the next step.
After tapping or slamming, the water inside will crystallize into slushy ice; you can then invert the bottle over a plate or bowl to enjoy. If the soft ice is not releasing from the bottle easily, you can gently squeeze the bottle or use a utensil to help it out.
Step 3: Removing the Ice from the Bottle
Now that your water bottle has been frozen and transformed into soft ice, it's time to remove the ice from the bottle and prepare it for consumption. Follow these steps:
- Remove the frozen water bottle from the freezer and tap, shake, or slam it on a counter or table to trigger the slushy freeze.
- Hold the bottle firmly and tap, shake, or slam it on a solid surface, such as a countertop or table, to trigger the slushy freeze.
Once the soft ice is completely removed from the bottle, you can transfer it to a bowl or serving dish for immediate consumption. It's best to enjoy the soft ice right away while it is still at its smoothest and creamiest texture.
Congratulations! You have successfully removed the soft ice from the water bottle and are now ready to indulge in its delightful coldness and velvety consistency.
Step 4: Enjoying Soft Ice
The supercooled water will crystallize into slushy ice inside the bottle after tapping or slamming.
Now that you have successfully created your soft ice, it's time to enjoy it. Grab a spoon or fork and dig into the smooth, refreshing texture as it melts in your mouth. Pair it with your favorite cold drink, or experiment with flavors by adding syrups, chocolate sauce, or crushed nuts for a personalized touch. Soft ice also makes a fun dessert to share at parties or gatherings—just pack it in a thermal bag or cooler if you're heading out for a picnic or a day at the beach.
Remember, soft ice is best consumed immediately—as time passes, it may melt and lose its silky texture. Savor it while it's at its prime, and revel in the unique frozen delight you've created.
Tips and Tricks
Creating soft ice in a water bottle is a simple yet fascinating process. To ensure the best results, follow these tips:
- Use purified or filtered water: High-quality water improves the taste and texture of the soft ice by eliminating impurities and minerals that can affect clarity and smoothness.
- Keeping it horizontal gives the best result.
- The exact time depends on your freezer and bottle size.
- Hold the bottle firmly and tap, shake, or slam it on a solid surface—the supercooled water will crystallize into slushy ice inside the bottle.
- Experiment with flavors: Infuse the water with fruit slices, herbs, or a drop of your favorite extract for subtle flavor.
- Try different bottle sizes and shapes to create unique soft ice shapes. Control softness by adjusting freezing time: reduce for softer ice, extend for firmer.
- Store leftover soft ice in an airtight container in the freezer, though it may lose some softness over time.
Conclusion
Creating soft ice in a water bottle is a fun and innovative way to elevate your hydration experience. By following the simple steps outlined in this guide, you can transform a regular water bottle into a source of indulgent and refreshing soft ice.
With its velvety texture and melt-in-your-mouth goodness, soft ice offers a unique twist to the traditional concept of ice cubes. It's a delightful treat that can be enjoyed on its own or paired with your favorite cold beverage.
Remember to choose a clean and tightly sealed water bottle, use purified or filtered water, and keep the bottle on its side in the freezer for the best result. Once removed, tap, shake, or slam the bottle on a counter or table to trigger the slushy freeze—the supercooled water will crystallize into slushy ice inside.
Avoid running the bottle under warm water, as this could melt the slush prematurely. After tapping or slamming, you can invert the bottle over a plate or bowl to enjoy.
So, grab your water bottle, follow these steps, and relish in the simple pleasure of soft ice—a refreshing burst of coldness perfect for any moment.
Related travel guides: How To Open Stuck Bottle Cap, How Many Liters Is In A Water Bottle, and How To Get A Suitcase Zipper Unstuck.