Getting a Proper Passport Photo Without Leaving Your Hotel Room
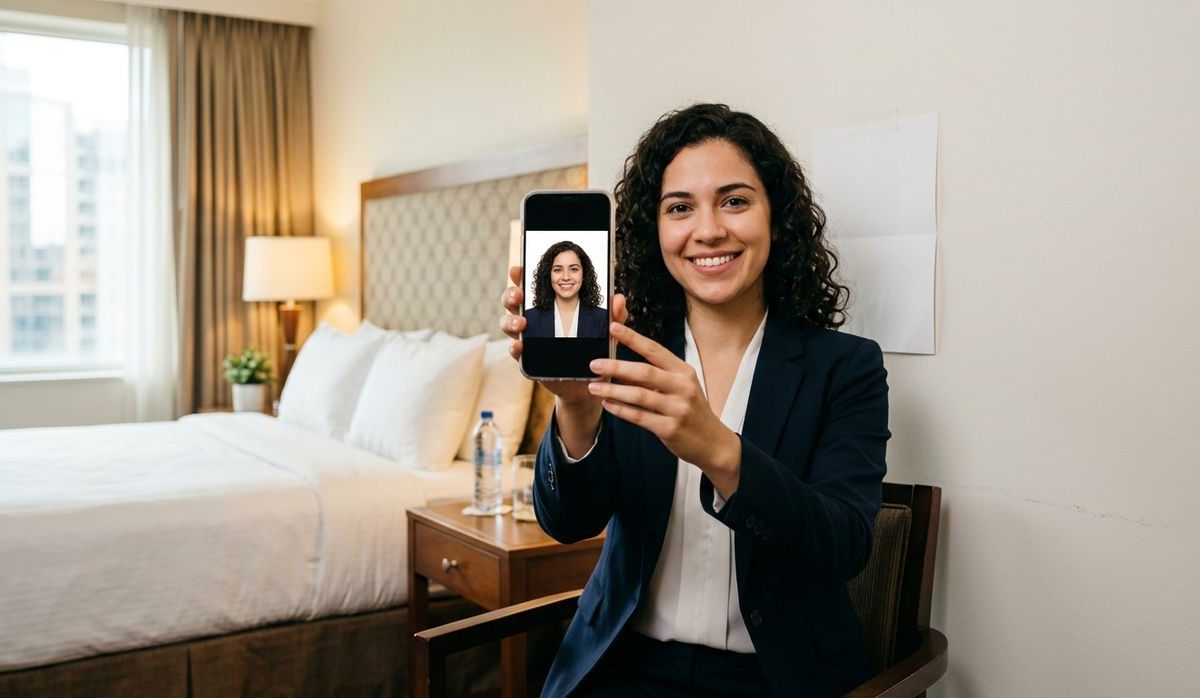
You are three days into a trip and your travel agent calls with bad news: your passport renewal application needs a fresh photo. Or maybe you are already at the consulate and realize your visa paperwork is one photo short. Either way, you are in an unfamiliar city, you do not know where the nearest photo studio is, and the clock is ticking.
What You Need to Know:
– Passport photos must meet strict official standards including a white background, neutral expression, and precise head dimensions
– The U.S. State Department requires a 2×2 inch photo with the head between 1 inch and 1 3/8 inches tall
– Most modern smartphones can capture a photo sharp enough to meet agency requirements
– Good window light and a plain white wall or sheet are enough for a compliant background
– Browser-based tools can crop, resize, and prepare your selfie without installing any software
Why Passport Photos Trip Up Travelers So Often
Photo studios are not hard to find in major cities, but in smaller towns or resort areas they can be a real challenge. Hours may not match yours. Language barriers slow things down. And paying tourist prices for a two-inch square of paper feels absurd.
The bigger problem is that travelers often do not realize their existing photos are out of date until they are mid-application. Passport photos expire. The U.S. State Department asks for a photo taken within the last six months. If your last renewal was years ago, your file photo does not qualify.
Renewing abroad adds another layer. Some countries accept digital submissions. Others want printed copies. A few require both. Knowing the exact spec for the document you are applying for, and having a way to produce it on demand, is the kind of preparation that saves a day of running around.
What Officials Actually Look For
The standards are stricter than most people expect. They exist for a good reason: facial recognition software and border control systems need consistency to work accurately. A photo taken at a bad angle or against a patterned background can trigger an automatic rejection before a human ever reviews it.
The U.S. passport photo requirements are the most widely referenced baseline in the English-speaking world, and many other countries follow similar logic.
Background must be plain white or off-white only, with no shadows, patterns, or colored walls. Expression should be neutral, mouth closed, eyes open and looking directly at the camera. Head position must face the camera straight on, not tilted or turned to the side. Glasses are not permitted on U.S. passports and are banned by a growing number of other countries as well. Lighting must be even, with no harsh shadows across the face or spilling from behind the subject.
The head size rule catches a lot of people off guard. For a standard U.S. passport, the head must be between 1 inch and 1 3/8 inches tall within a 2×2 inch print. That is a fairly narrow range, and it is why simply cropping a regular photo to a square almost never works.
Setting Up a Shot in Your Hotel Room
You do not need a dedicated camera or a tripod. Your smartphone will do the job. What you do need is decent light and a plain background.
Window light is your best option. Position yourself facing the window so the light falls evenly across your face. Midday light from a north-facing or overcast window is ideal because it is soft and diffused. Direct sunlight from the side creates shadows that can cause a rejection.
For the background, a white wall is perfect. If your room has cream walls or patterned wallpaper, hang a white bedsheet or towel behind you. It sounds low-tech but it works.
A few things to keep in mind when setting up:
- Prop your phone against a stable surface at eye level rather than holding it yourself
- Use the timer function so you are not reaching for the screen at the moment of capture
- Take 10 or 15 shots and pick the sharpest one with the most even lighting
- Wear plain dark clothing so the contrast with the white background stays clear
- Remove hats, scarves, and anything that might cast a shadow on your face
Your expression matters more than you might expect. Practice looking straight ahead with a relaxed, neutral face before you start shooting. A slight smile showing teeth will get the photo rejected. Neutral means neutral.
Turning Your Selfie Into a Compliant Document Photo
Once you have a good shot, the main challenge is producing the right dimensions and background. Getting both right manually in a standard photo editor is tedious and easy to get wrong. This is where a browser-based ID photo maker handles the technical work for you, automatically detecting your face, removing or replacing the background, and cropping to the correct dimensions for passports, visas, and other official documents.
There is nothing to install. You open it in the browser on your phone or laptop, upload your photo, select the document type, and download a properly formatted file. The tool applies the white background and crops to spec, so you are not guessing at pixel counts or trying to remember whether the file needs to be 600 by 600 or 900 by 1200.
That file can go one of two ways. If the application accepts digital submissions, you upload it directly. If you need a print, most hotel business centers have a printer, or you can send the file to a nearby pharmacy, convenience store, or print shop. A 4×6 print laid out with four passport photos is the standard format many print services use, and it produces two usable copies per sheet.
Checking Country-Specific Requirements Before You Print
The 2×2 inch U.S. standard is not universal. The way the passport photo format works varies significantly across countries, so checking the specific requirements for the issuing authority before printing saves you from doing the whole job twice.
Common variations you will run into:
- The EU standard is 35mm x 45mm, which is slightly taller than the U.S. format
- Some countries permit a very light gray background instead of pure white
- Schengen visa photos must be taken within the last six months, same as U.S. rules
- Australia requires the photo to show more of the head and shoulders than U.S. specs do
A targeted search for the country name alongside “passport photo requirements” on the official government immigration site will give you the authoritative spec. Third-party guides go out of date, so always check the source.
What to Do if the First Shot Does Not Work
Sometimes you nail the photo on the first attempt. Sometimes the lighting is off, or the background bleeds in at the edges, or a shadow falls across one side of your face.
If your face looks flat or grey, move closer to the window rather than turning on overhead lights, which often cast a yellowish tint. If one side of your face is noticeably darker, try adding a second light source on the opposite side by placing your phone’s torch or a lamp just out of frame. If the background replacement tool gives you a rough edge around your hair, the fix is usually to retake the photo against the lightest background available so there is more contrast for the tool to work with. And if midday sun is pouring directly through the window and causing harsh patches, wait for a cloudy moment or shoot in the morning when the light is softer.
Three solid retakes taken with attention to these details will almost always produce a usable photo, even in a basic hotel room.
Your Passport Photo, Sorted Before Check-Out
Getting a compliant passport or visa photo from a hotel room is genuinely manageable now. The tools exist, the requirements are public, and the whole process from selfie to print-ready file can happen in under 20 minutes. The hardest part is remembering to do it before you are already sitting in a consulate waiting room.
If you know a renewal is coming up during a trip, build the photo session into your first morning at the hotel. Good light, a few minutes of careful setup, and one reliable browser tool are all you need. That way, you have the file ready whenever the paperwork lands, without spending half a day hunting for a photo booth in a city you have barely had time to learn yet.