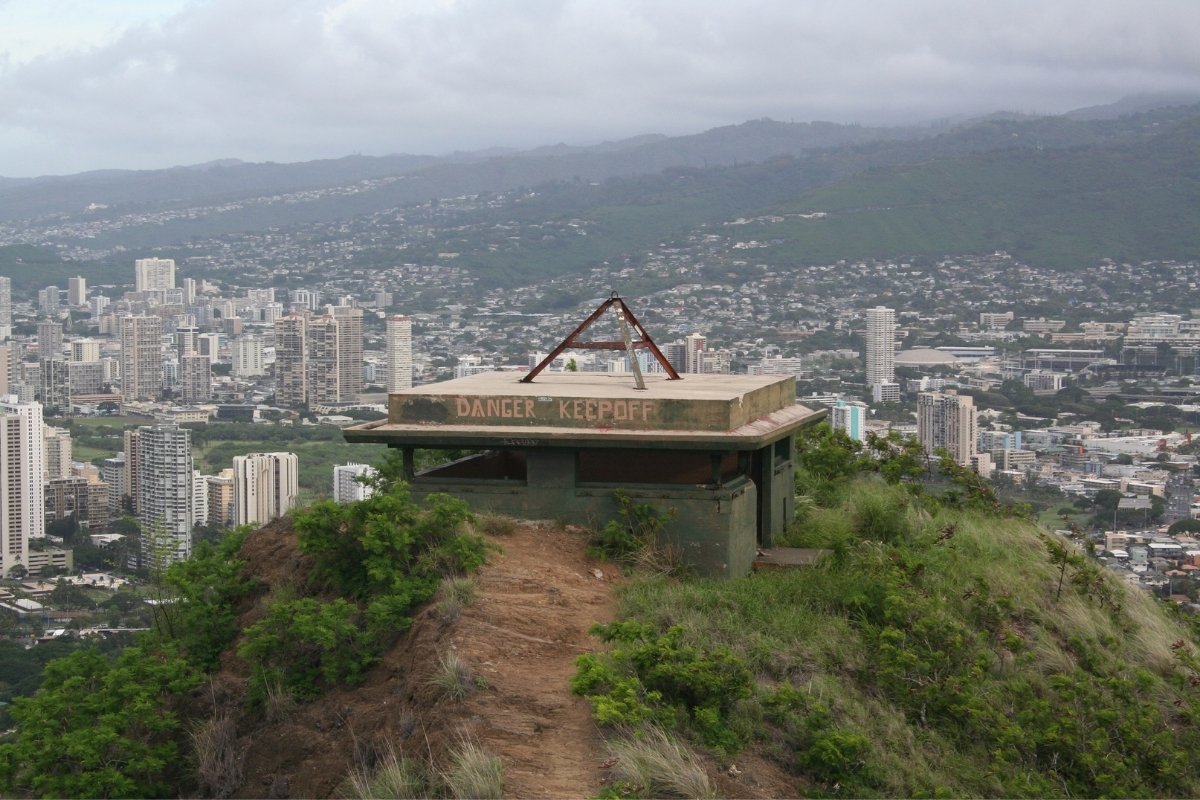
Hidden Military Bunker Networks In Hawaii’s Diamond Head Crater

Have you ever wondered what lies beneath the surface of Hawaii's famous Diamond Head Crater? Beyond its stunning views and hiking trails, there’s a hidden world waiting to be explored. Military bunker networks from World War II are tucked away within this iconic landmark. These bunkers, built to protect the island, offer a glimpse into a fascinating part of history. Imagine walking through tunnels that once buzzed with activity, where soldiers stood ready to defend the island. Whether you're a history buff or just curious, these hidden bunkers provide a unique adventure. Ready to uncover the secrets of Diamond Head? Let's dive in!
Hidden Military Bunker Networks in Hawaii's Diamond Head Crater
Diamond Head Crater, a famous volcanic tuff cone on the Hawaiian island of Oahu, holds secrets beneath its surface. During World War II, the U.S. military constructed a network of bunkers and tunnels within the crater to defend against potential attacks. These hidden military installations remain a fascinating part of Hawaii's history.
The Command Center
The Command Center served as the nerve center for military operations within Diamond Head Crater. This bunker was equipped with communication devices and strategic maps to coordinate defense efforts.
- Location: Near the summit of Diamond Head.
- Features: Communication equipment, strategic maps, and observation points.
- Purpose: Coordinated defense operations and monitored enemy movements.
The Fire Control Station
The Fire Control Station played a crucial role in directing artillery fire. This bunker provided a vantage point to spot enemy ships and aircraft, ensuring accurate targeting.
- Location: On the crater's rim.
- Features: Observation posts, range finders, and plotting rooms.
- Purpose: Directed artillery fire to protect Oahu from enemy attacks.
The Battery Harlow
Battery Harlow housed large coastal defense guns designed to protect Honolulu Harbor. This bunker network included gun emplacements, ammunition storage, and crew quarters.
- Location: Southeastern side of Diamond Head.
- Features: Gun emplacements, ammunition storage, and crew quarters.
- Purpose: Defended Honolulu Harbor from naval threats.
The Tunnel System
A complex tunnel system connected various bunkers within Diamond Head Crater. These tunnels allowed safe and quick movement of personnel and supplies.
- Location: Throughout the crater.
- Features: Reinforced tunnels, ventilation systems, and emergency exits.
- Purpose: Facilitated movement and communication between bunkers.
The Observation Post
The Observation Post provided a panoramic view of the surrounding area. This bunker was essential for spotting enemy activity and relaying information to other bunkers.
- Location: Near the crater's summit.
- Features: Observation decks, binoculars, and communication equipment.
- Purpose: Monitored enemy movements and relayed information to command centers.
The Medical Bunker
The Medical Bunker was a vital part of the military network, offering medical care to injured soldiers. This facility included treatment rooms, surgical areas, and recovery wards.
- Location: Within the crater's interior.
- Features: Treatment rooms, surgical areas, and recovery wards.
- Purpose: Provided medical care to injured personnel.
The Ammunition Depot
The Ammunition Depot stored the munitions needed for the coastal defense guns. This bunker was heavily fortified to protect against explosions.
- Location: Near Battery Harlow.
- Features: Reinforced walls, storage racks, and ventilation systems.
- Purpose: Stored ammunition for coastal defense guns.
The Radar Station
The Radar Station was a critical component of the defense network, detecting incoming enemy aircraft. This bunker housed radar equipment and operators who monitored the skies.
- Location: On the crater's rim.
- Features: Radar equipment, operator stations, and communication links.
- Purpose: Detected and tracked enemy aircraft.
The Barracks
The Barracks provided living quarters for soldiers stationed within Diamond Head Crater. This facility included sleeping areas, mess halls, and recreational spaces.
- Location: Inside the crater.
- Features: Sleeping quarters, mess halls, and recreational areas.
- Purpose: Housed soldiers and provided daily necessities.
The Hidden History of Diamond Head Crater
Diamond Head Crater isn't just a stunning natural landmark. Beneath its surface lies a network of military bunkers and tunnels, a testament to Hawaii's strategic importance during wartime. These hidden structures offer a glimpse into the past, revealing the island's role in defense and security.
Exploring these bunkers provides a unique experience, blending history with adventure. Whether you're a history buff or just curious, visiting Diamond Head's hidden military sites adds depth to your understanding of Hawaii's past.
Next time you find yourself in Oahu, take the opportunity to delve into this lesser-known aspect of the island. The stories and secrets of Diamond Head's bunkers are waiting to be uncovered, offering a fascinating journey through time.

